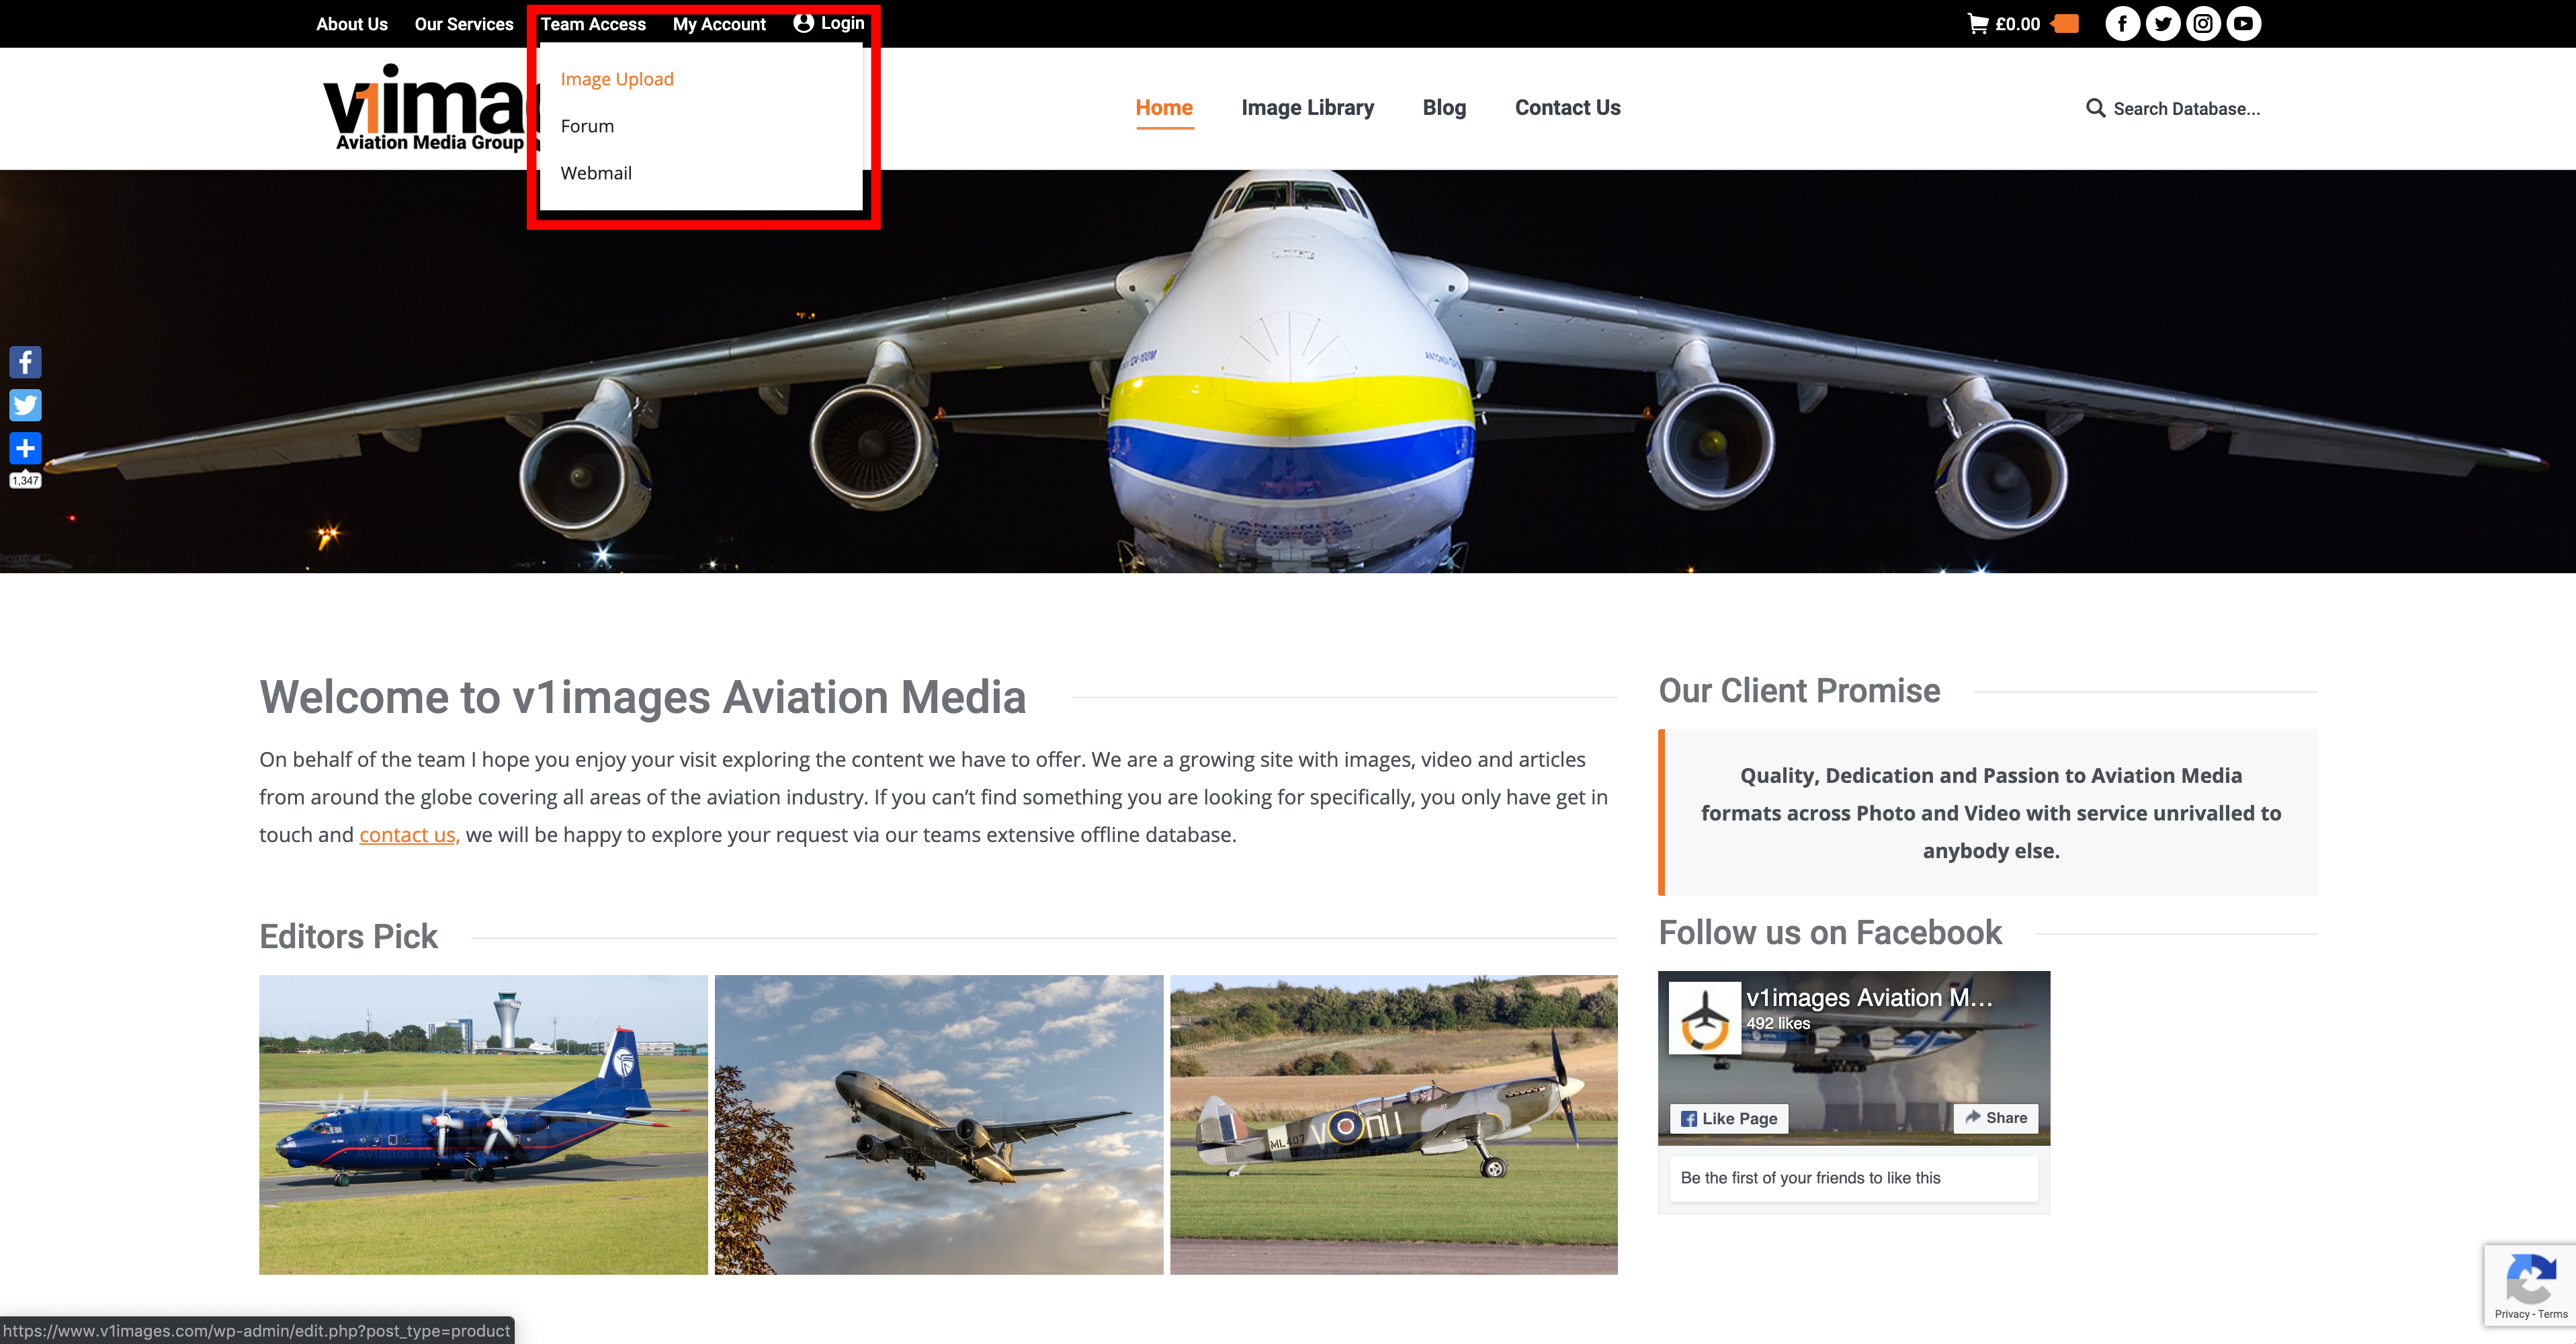
On the v1images.com homepage, use the drop-down at the top named ‘Team Access’ and select ‘Image Upload’.
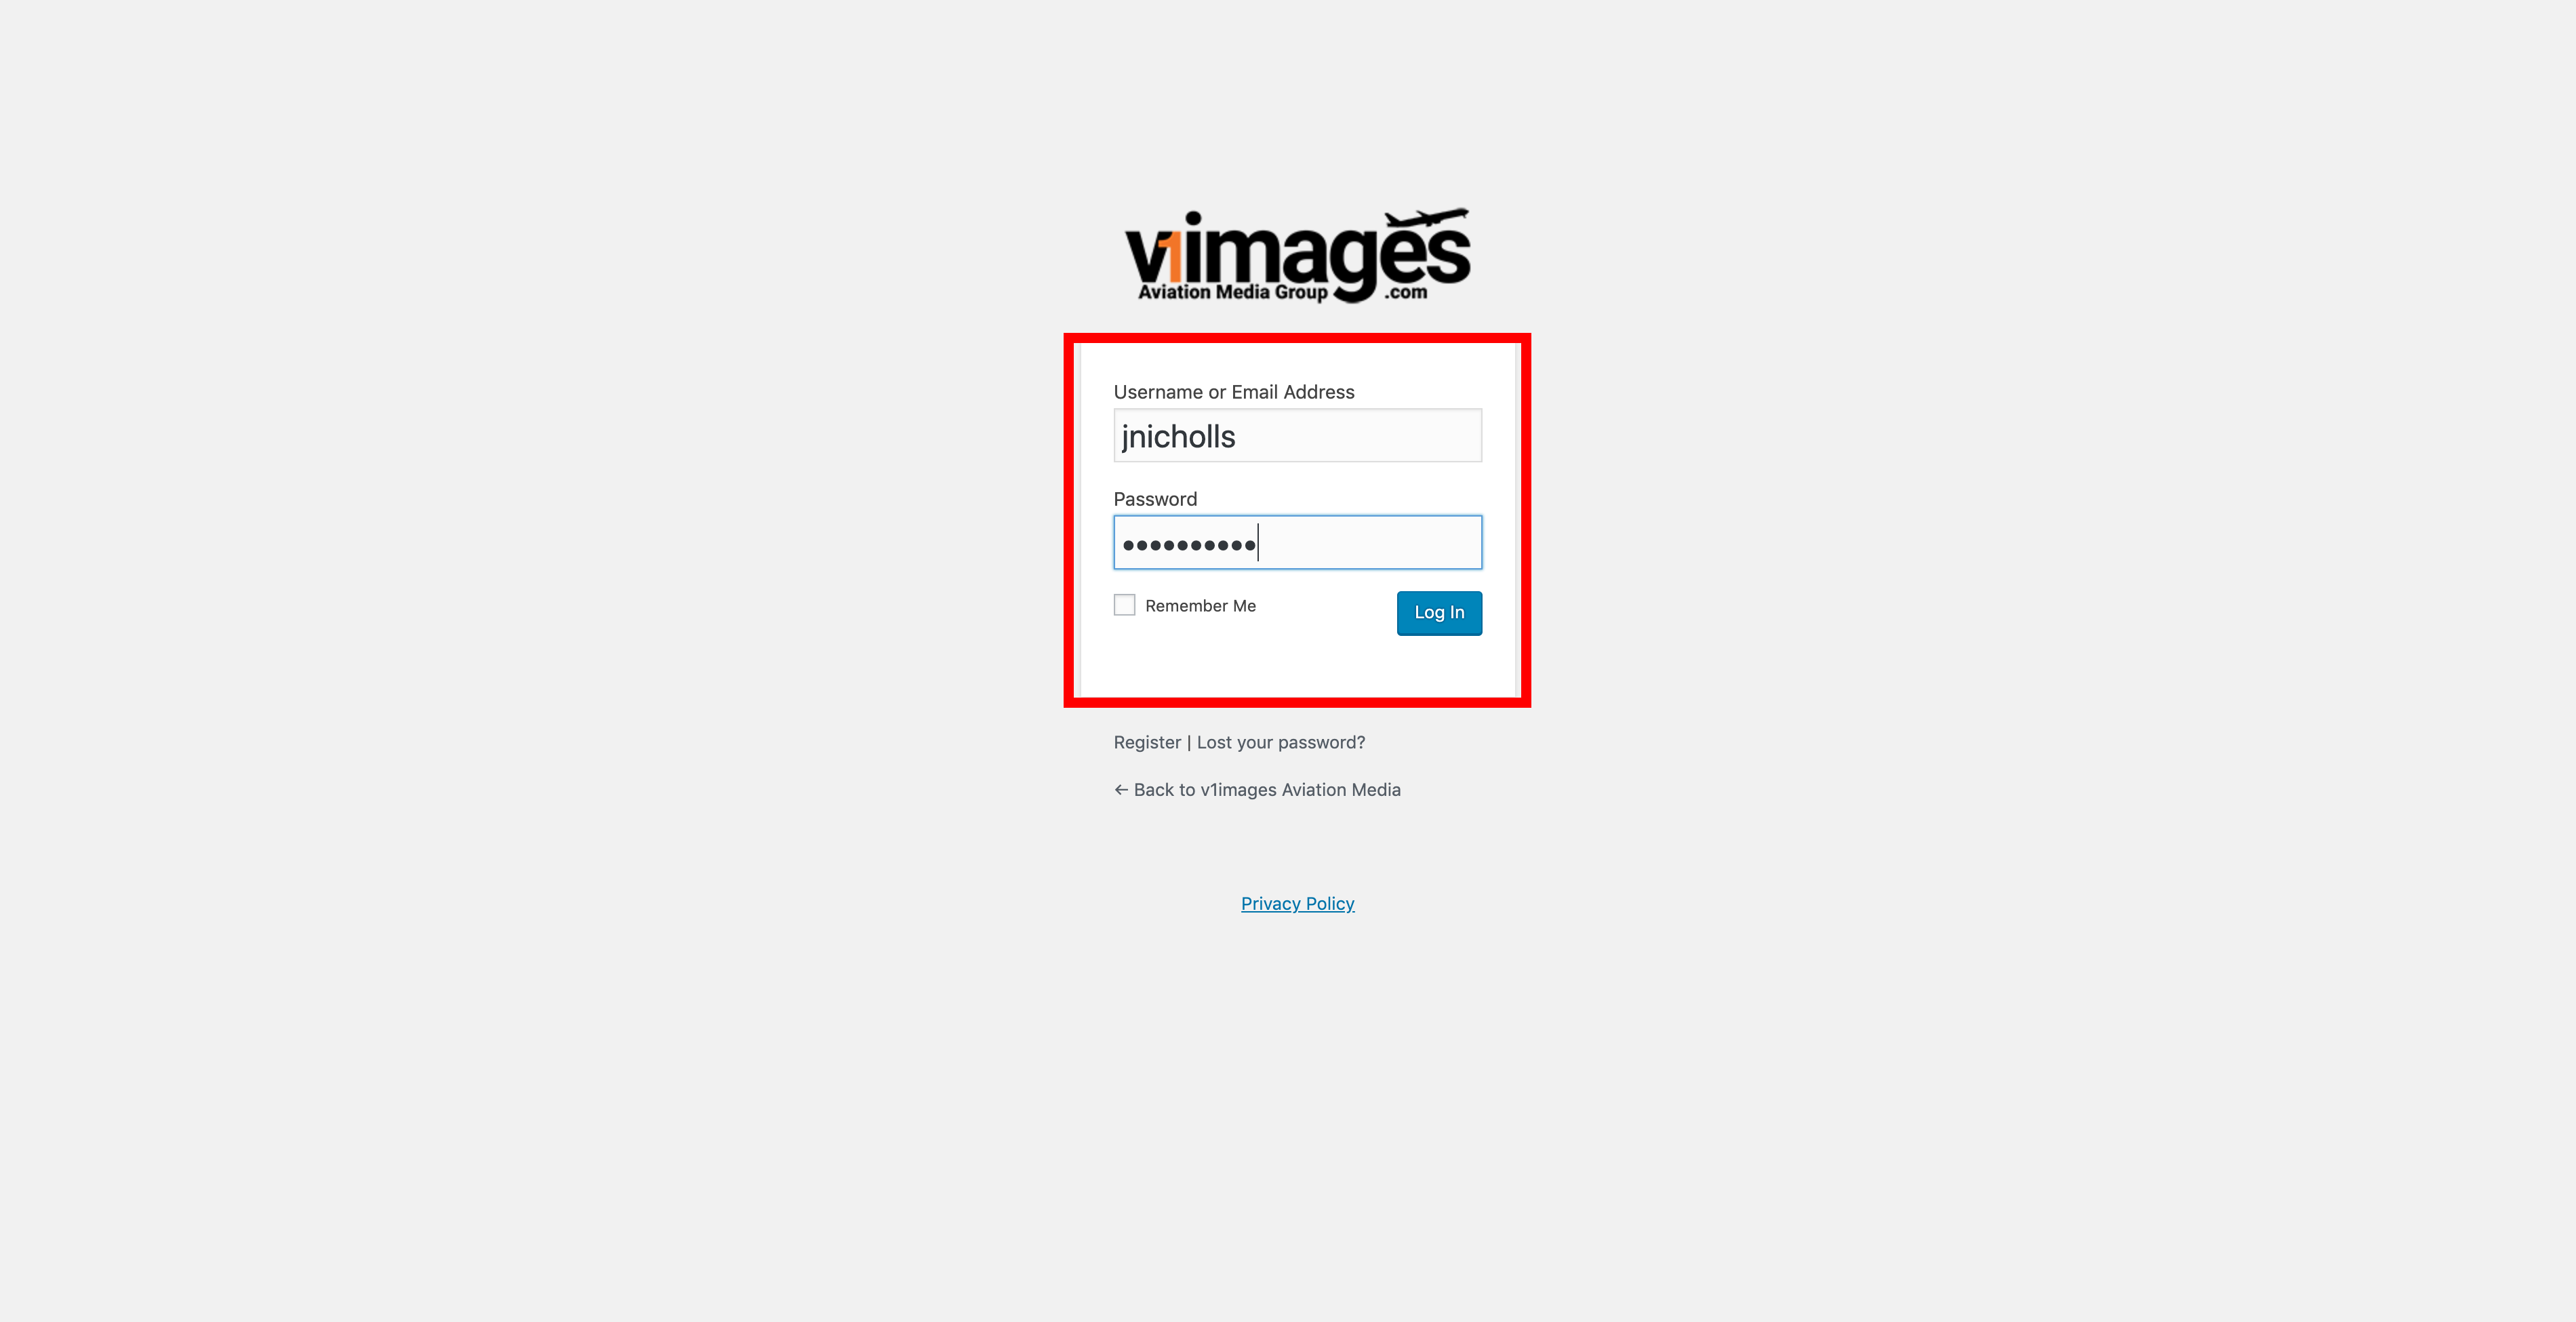
Log-In with your normal site credentials.
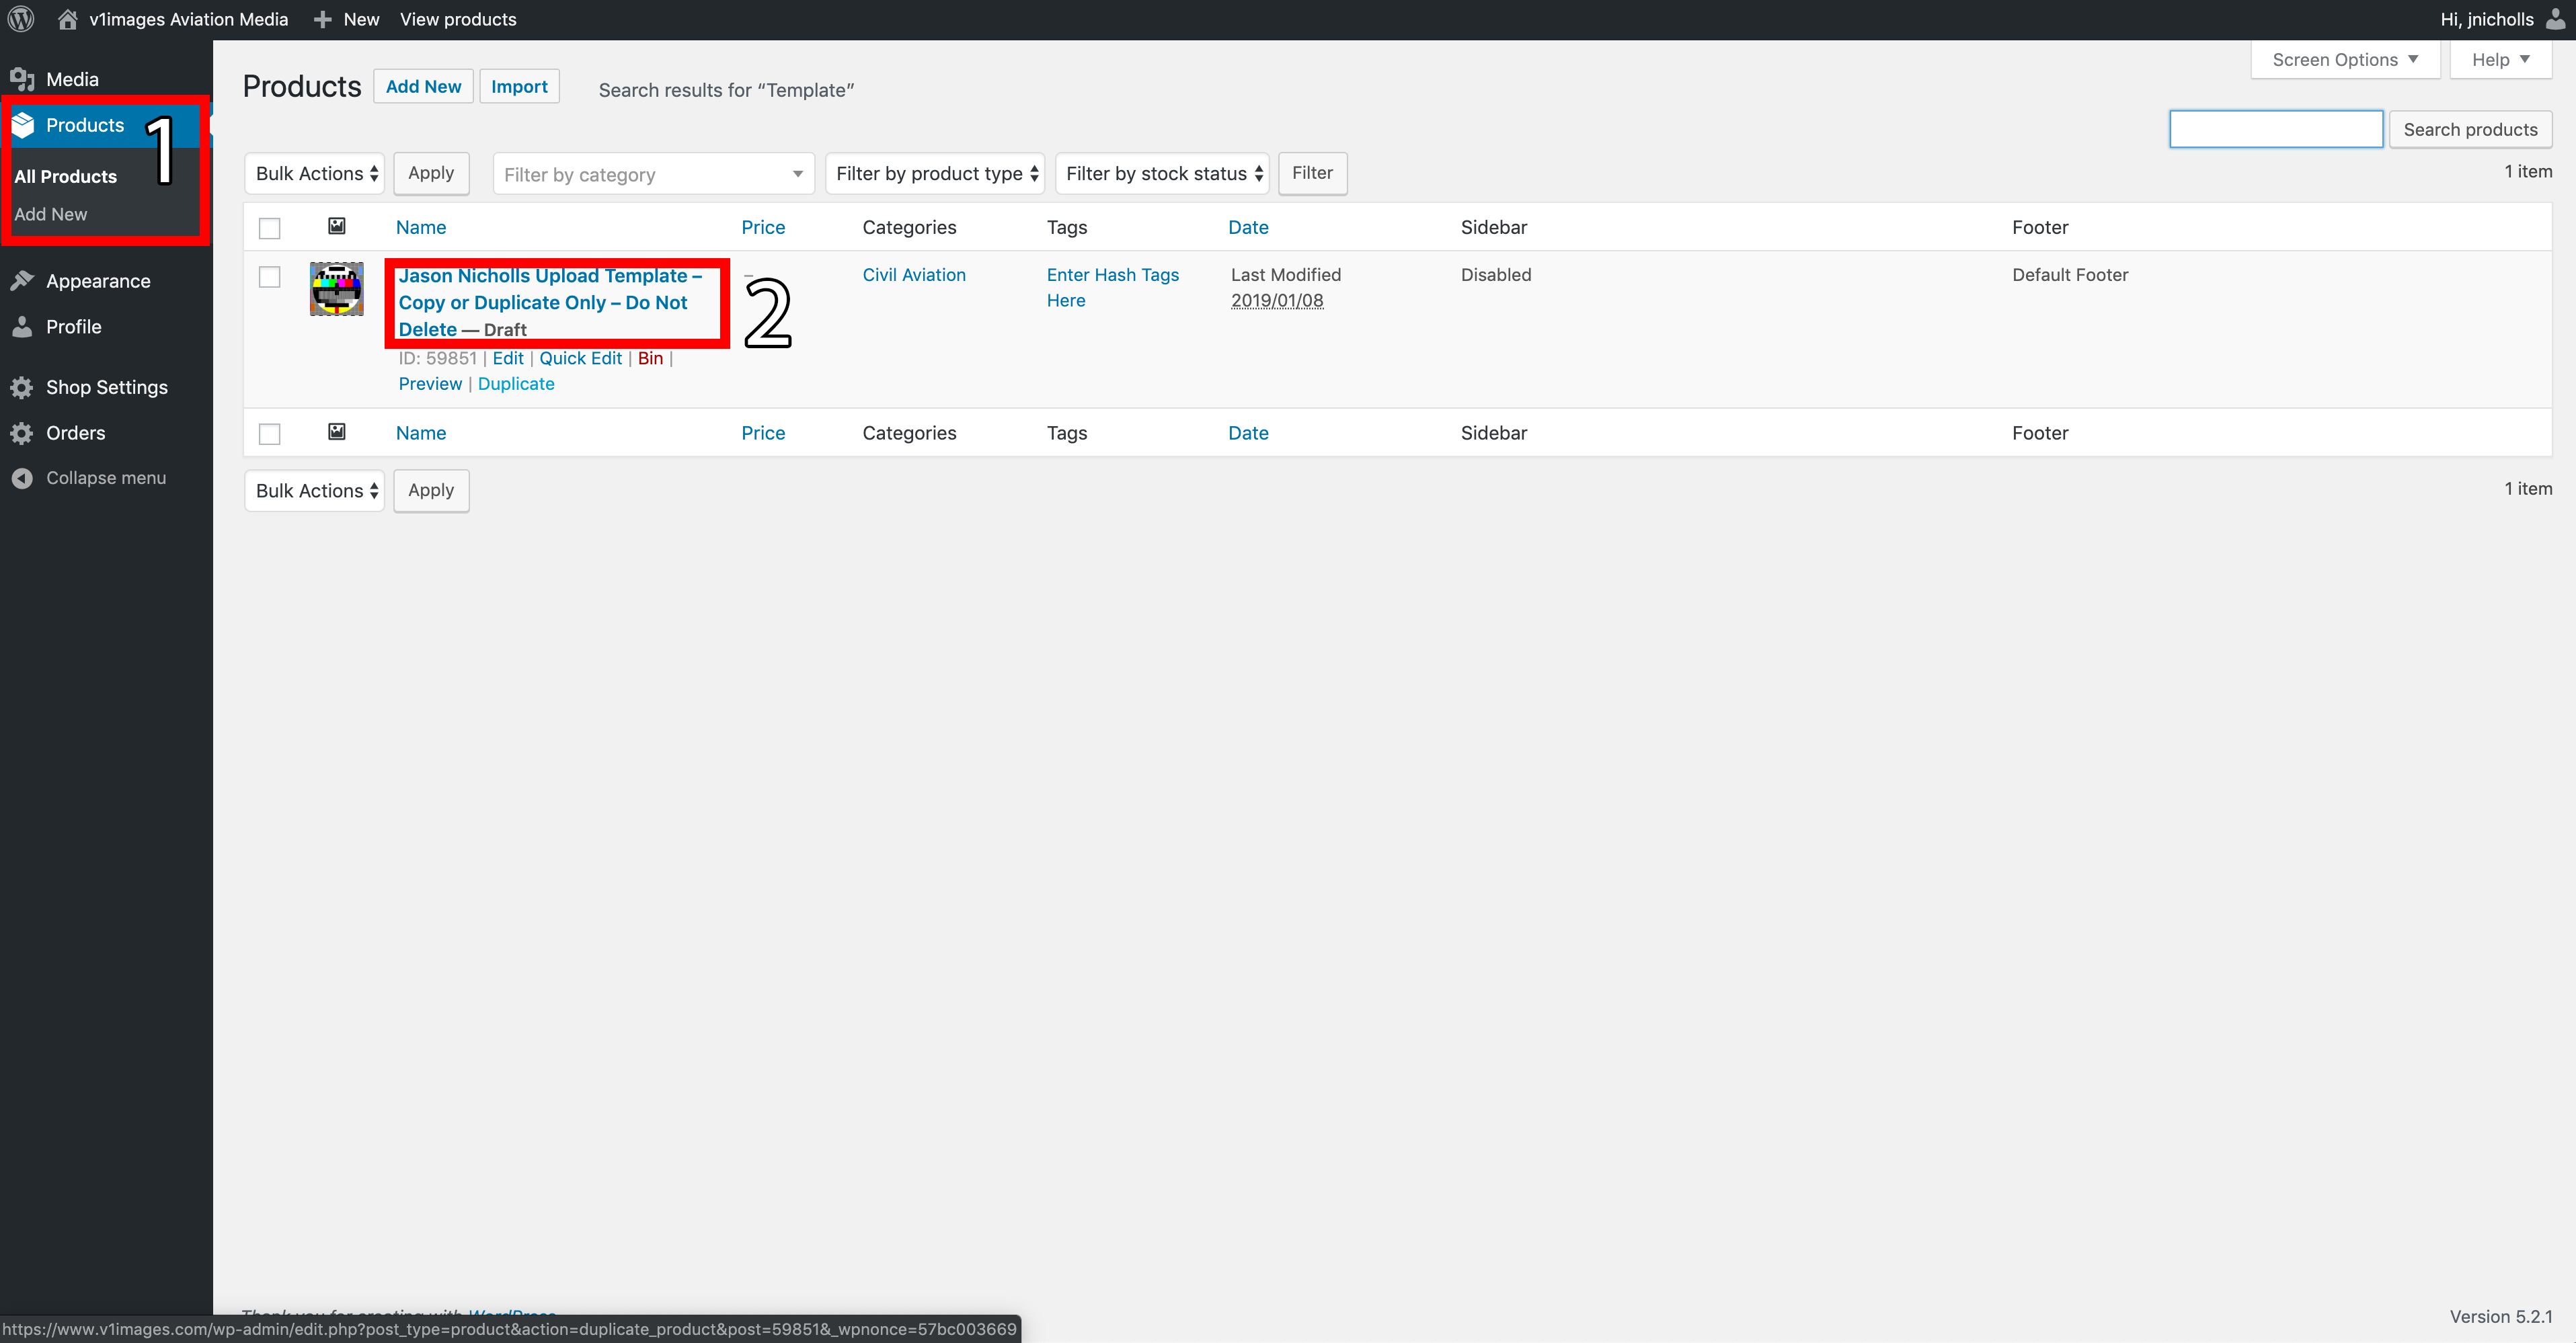
Once logged in you should see the page displayed here. If not click on the menu to the left underneath Products highlighted as ‘All Products’ (Point 1). Once here click on the ‘Template’ all members have. This template will be key to all uploads. If it is missing please get in touch with Jason ASAP.
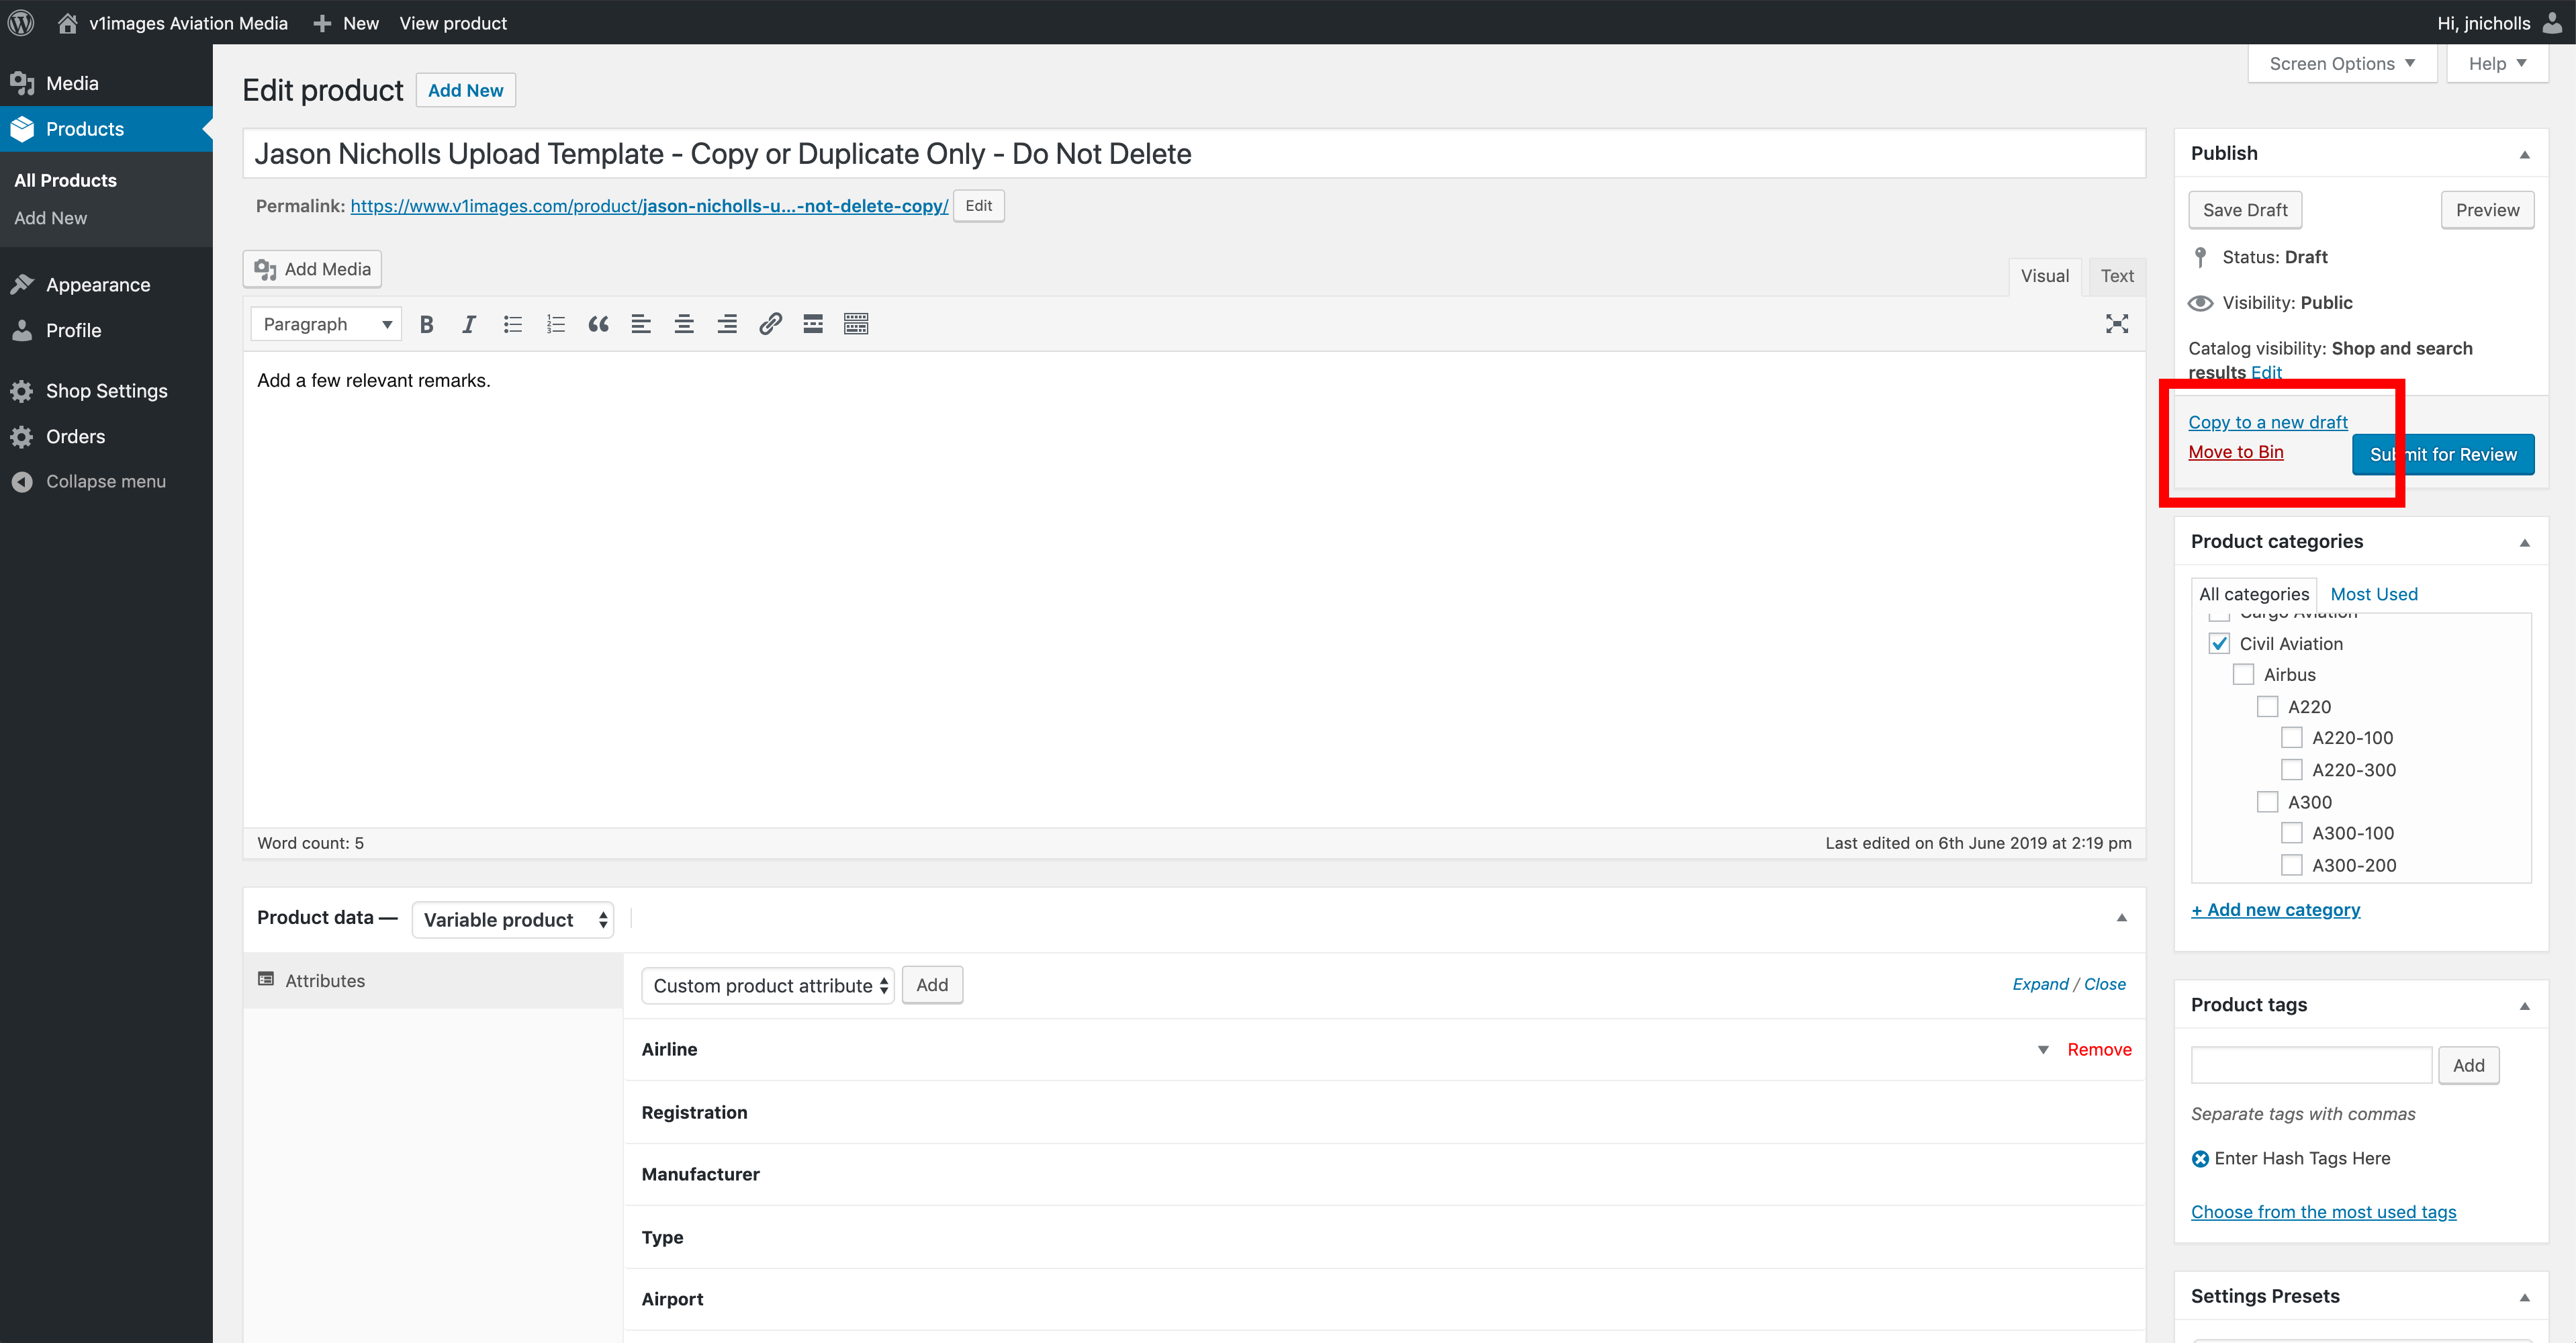
Now you should see a similar page to above. From here please ensure you click on the link to ‘Copy to new draft’.
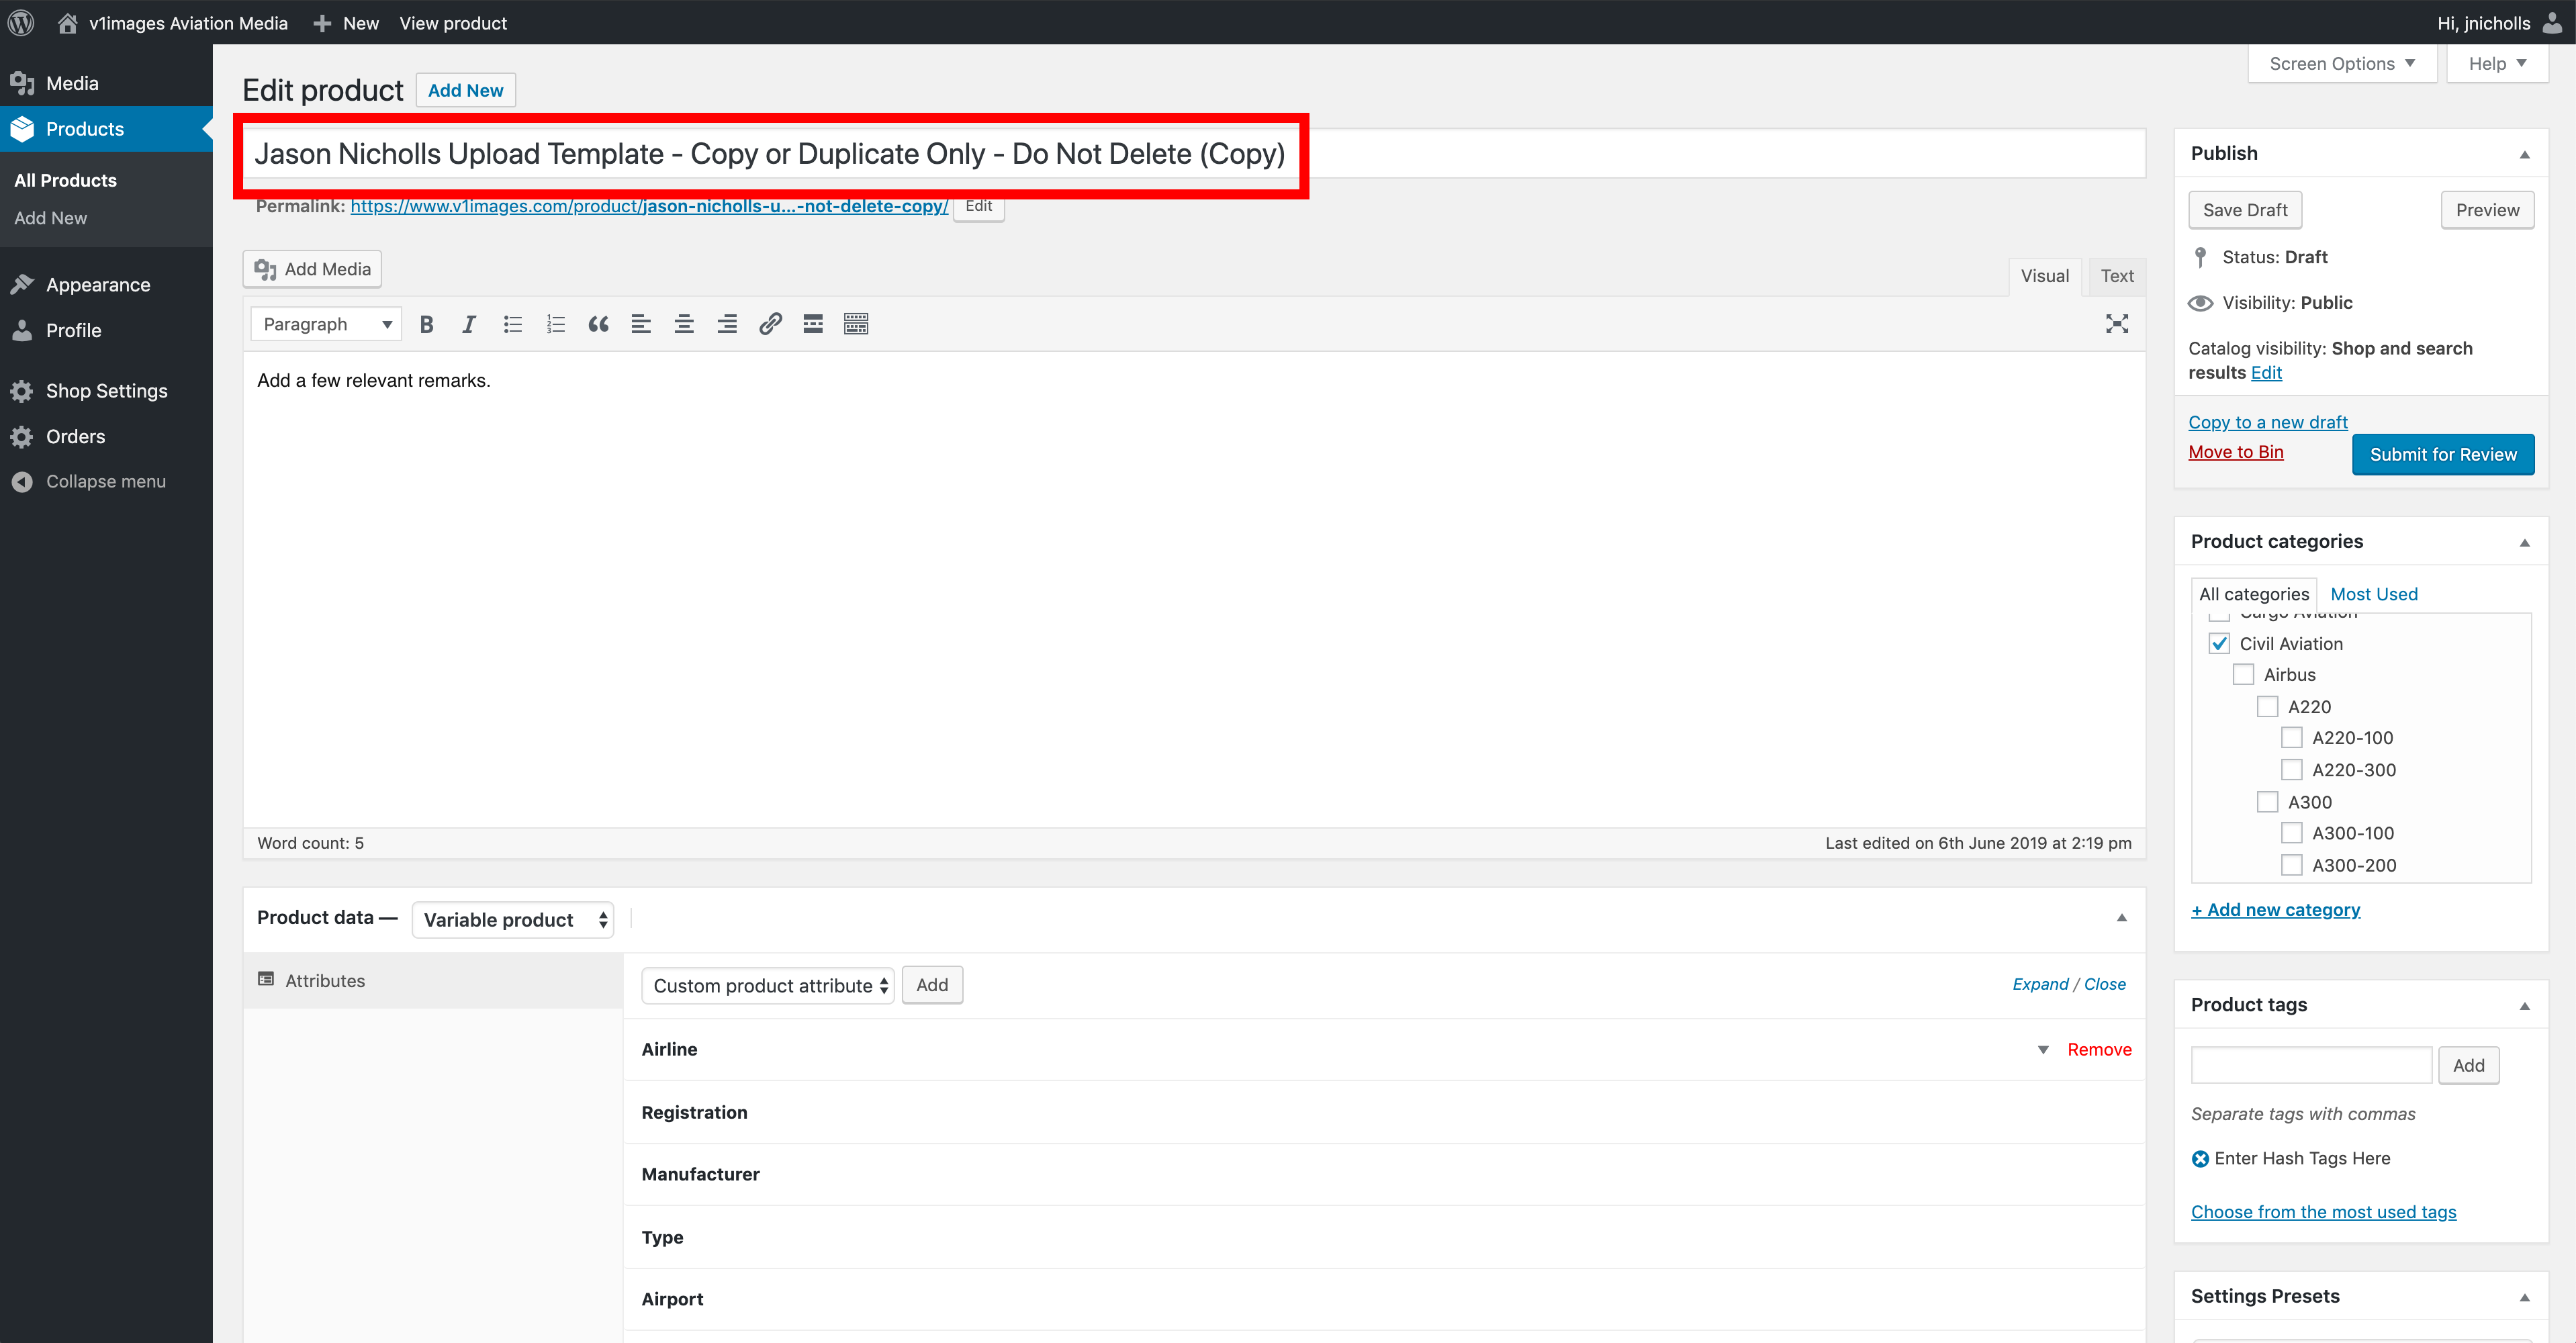
Check the title name has (copy) at the end, if it does you are clear to proceed. The first thing we need to do is set the image title. To do this we like to follow the following format:
[Airline] [Manufacturer] [Specific Type] [Registration]
An example can be as follows for the aircraft registration ZK-OKP:
Air New Zealand Boeing 777-319(ER) ZK-OKP
Google can be your friend to get these details, for most Airbus or Boeing listings searching the registration will give you the above search results. Giving you a perfect line from Planespotters.net almost in the exact format we use! A quick copy and paste and relocation of the registration should be enough 90% of the time.

For anything that is not Boeing or Airbus use Google to search the registration and get the details required if you do not already know them.

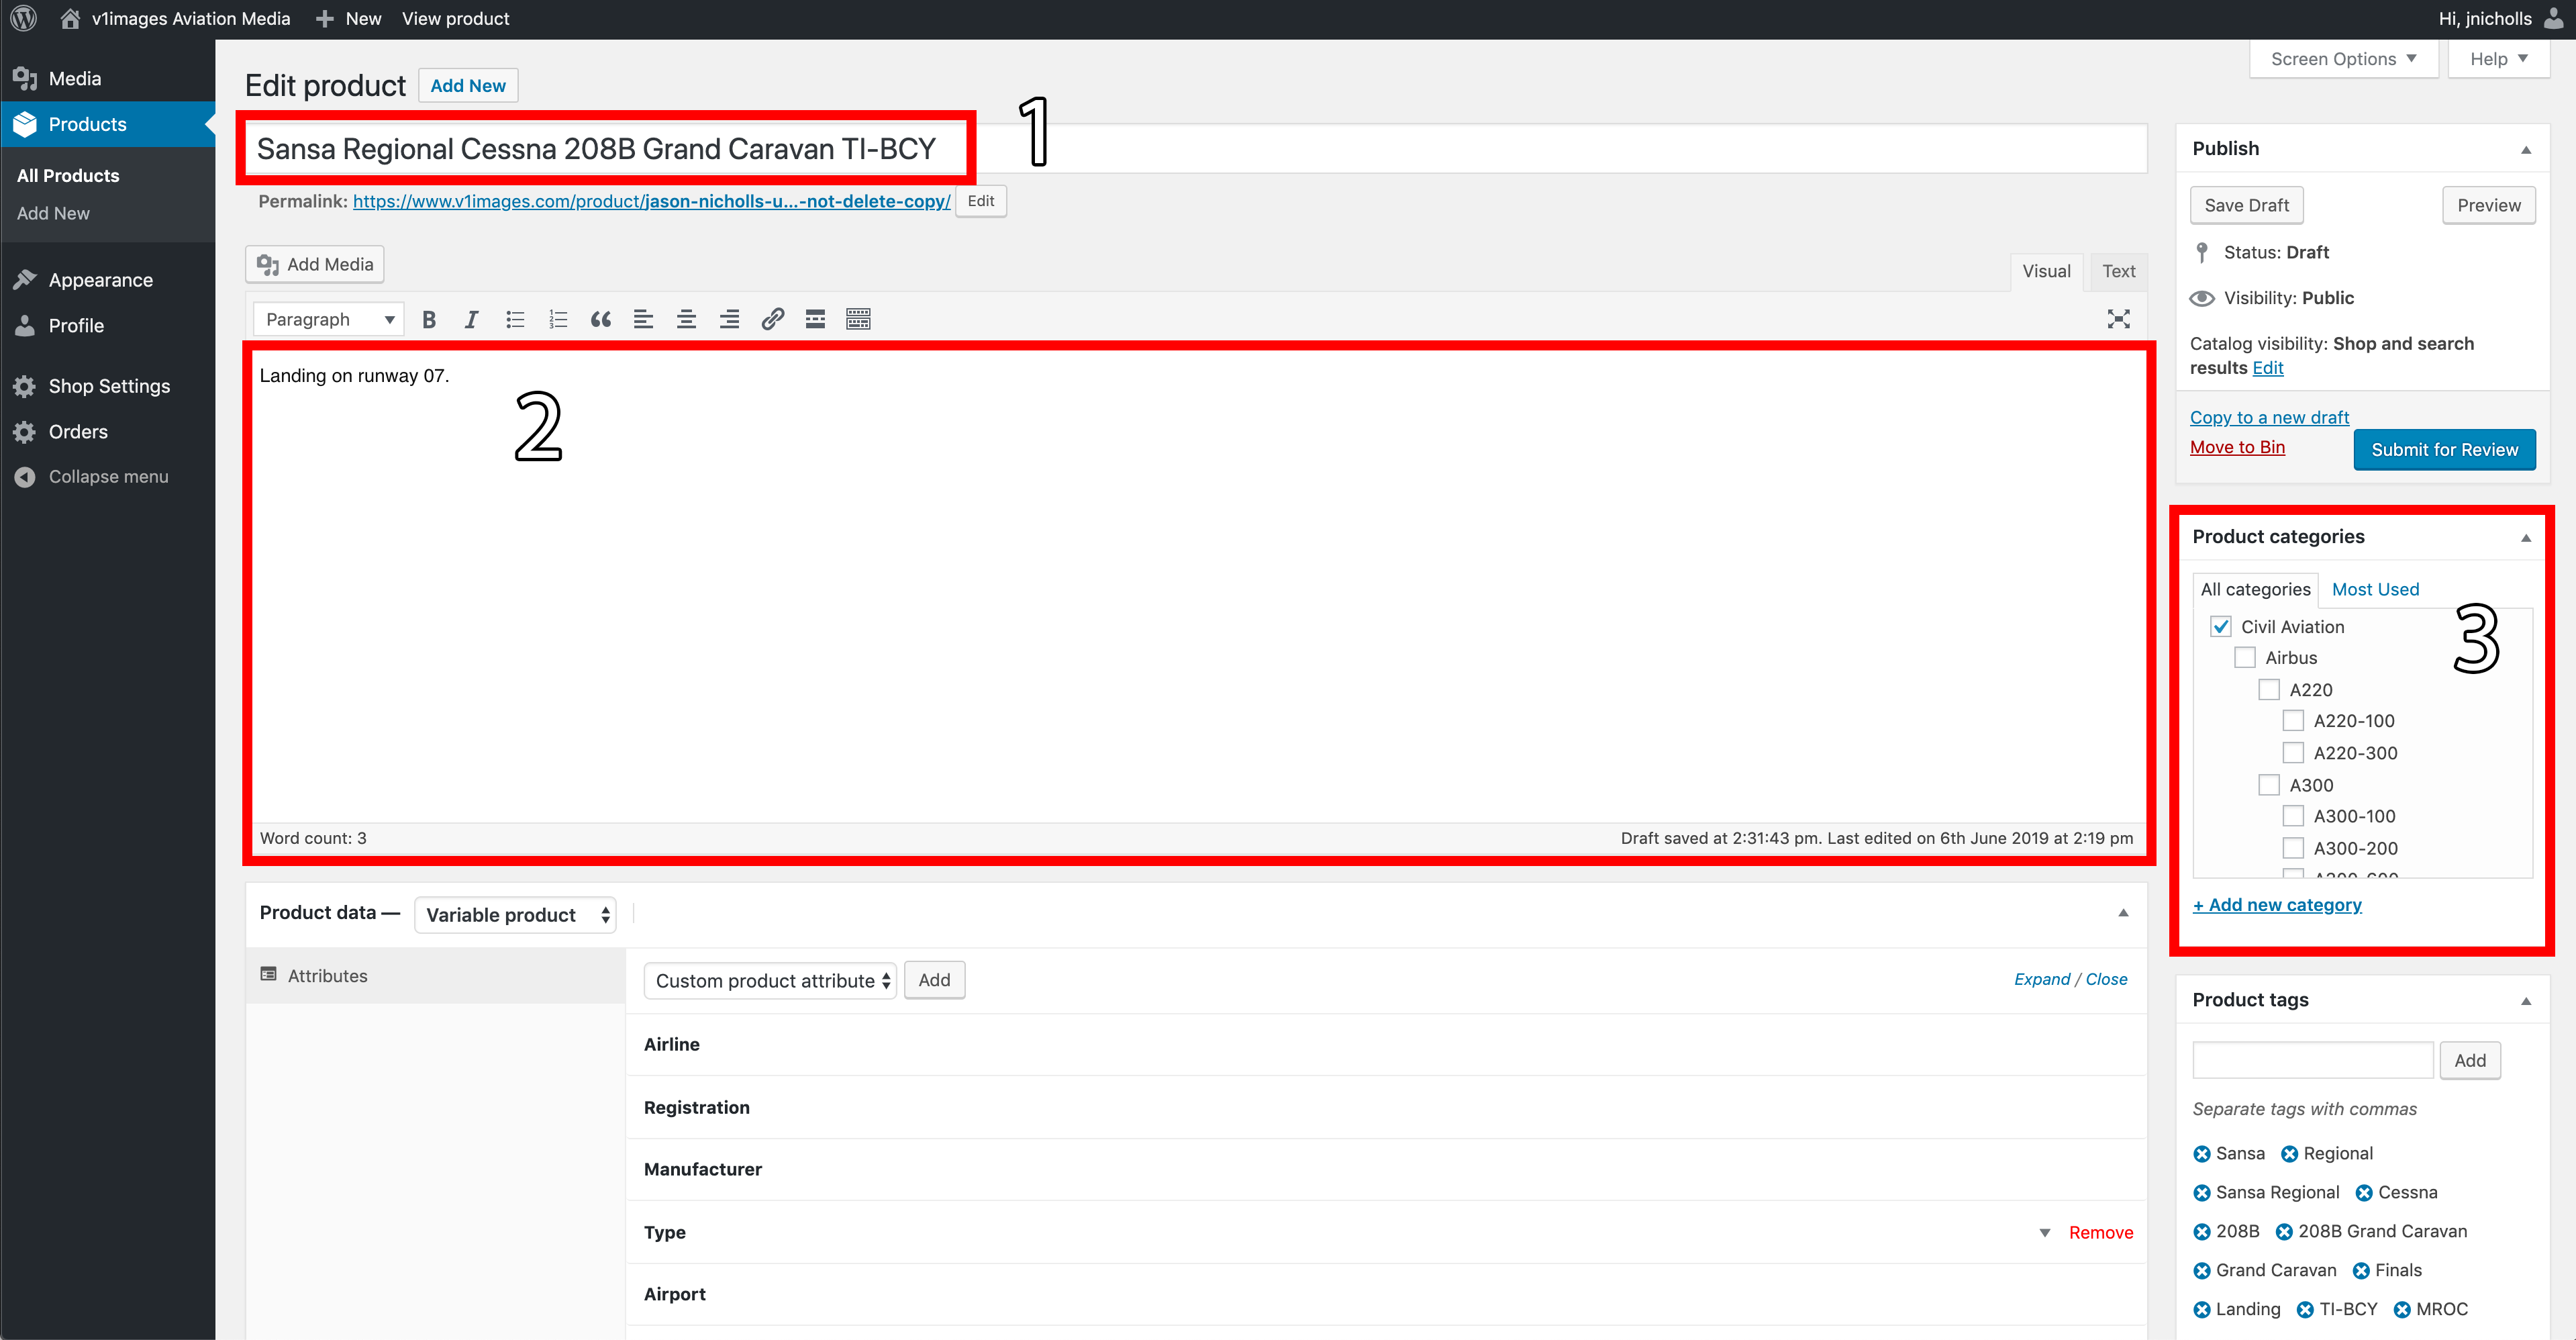
So by now, you should have the image title complete (Point 1).
The next step is to add a small description of what the image shows, however, this is not a necessity (Point 2).
And finally, ensure you tick the correct categories to add the image to. For example, if you are uploading an image of ZK-OKP, an Air New Zealand Boeing 777-319(ER) you would tick the following categories:
- Civil Aviation
- Boeing
- 777
- 777-300(ER)
So 4 categories altogether. Some aircraft types have more categories to select, some less. Please do not add a new category, if what you need is missing please get in touch with Jason.
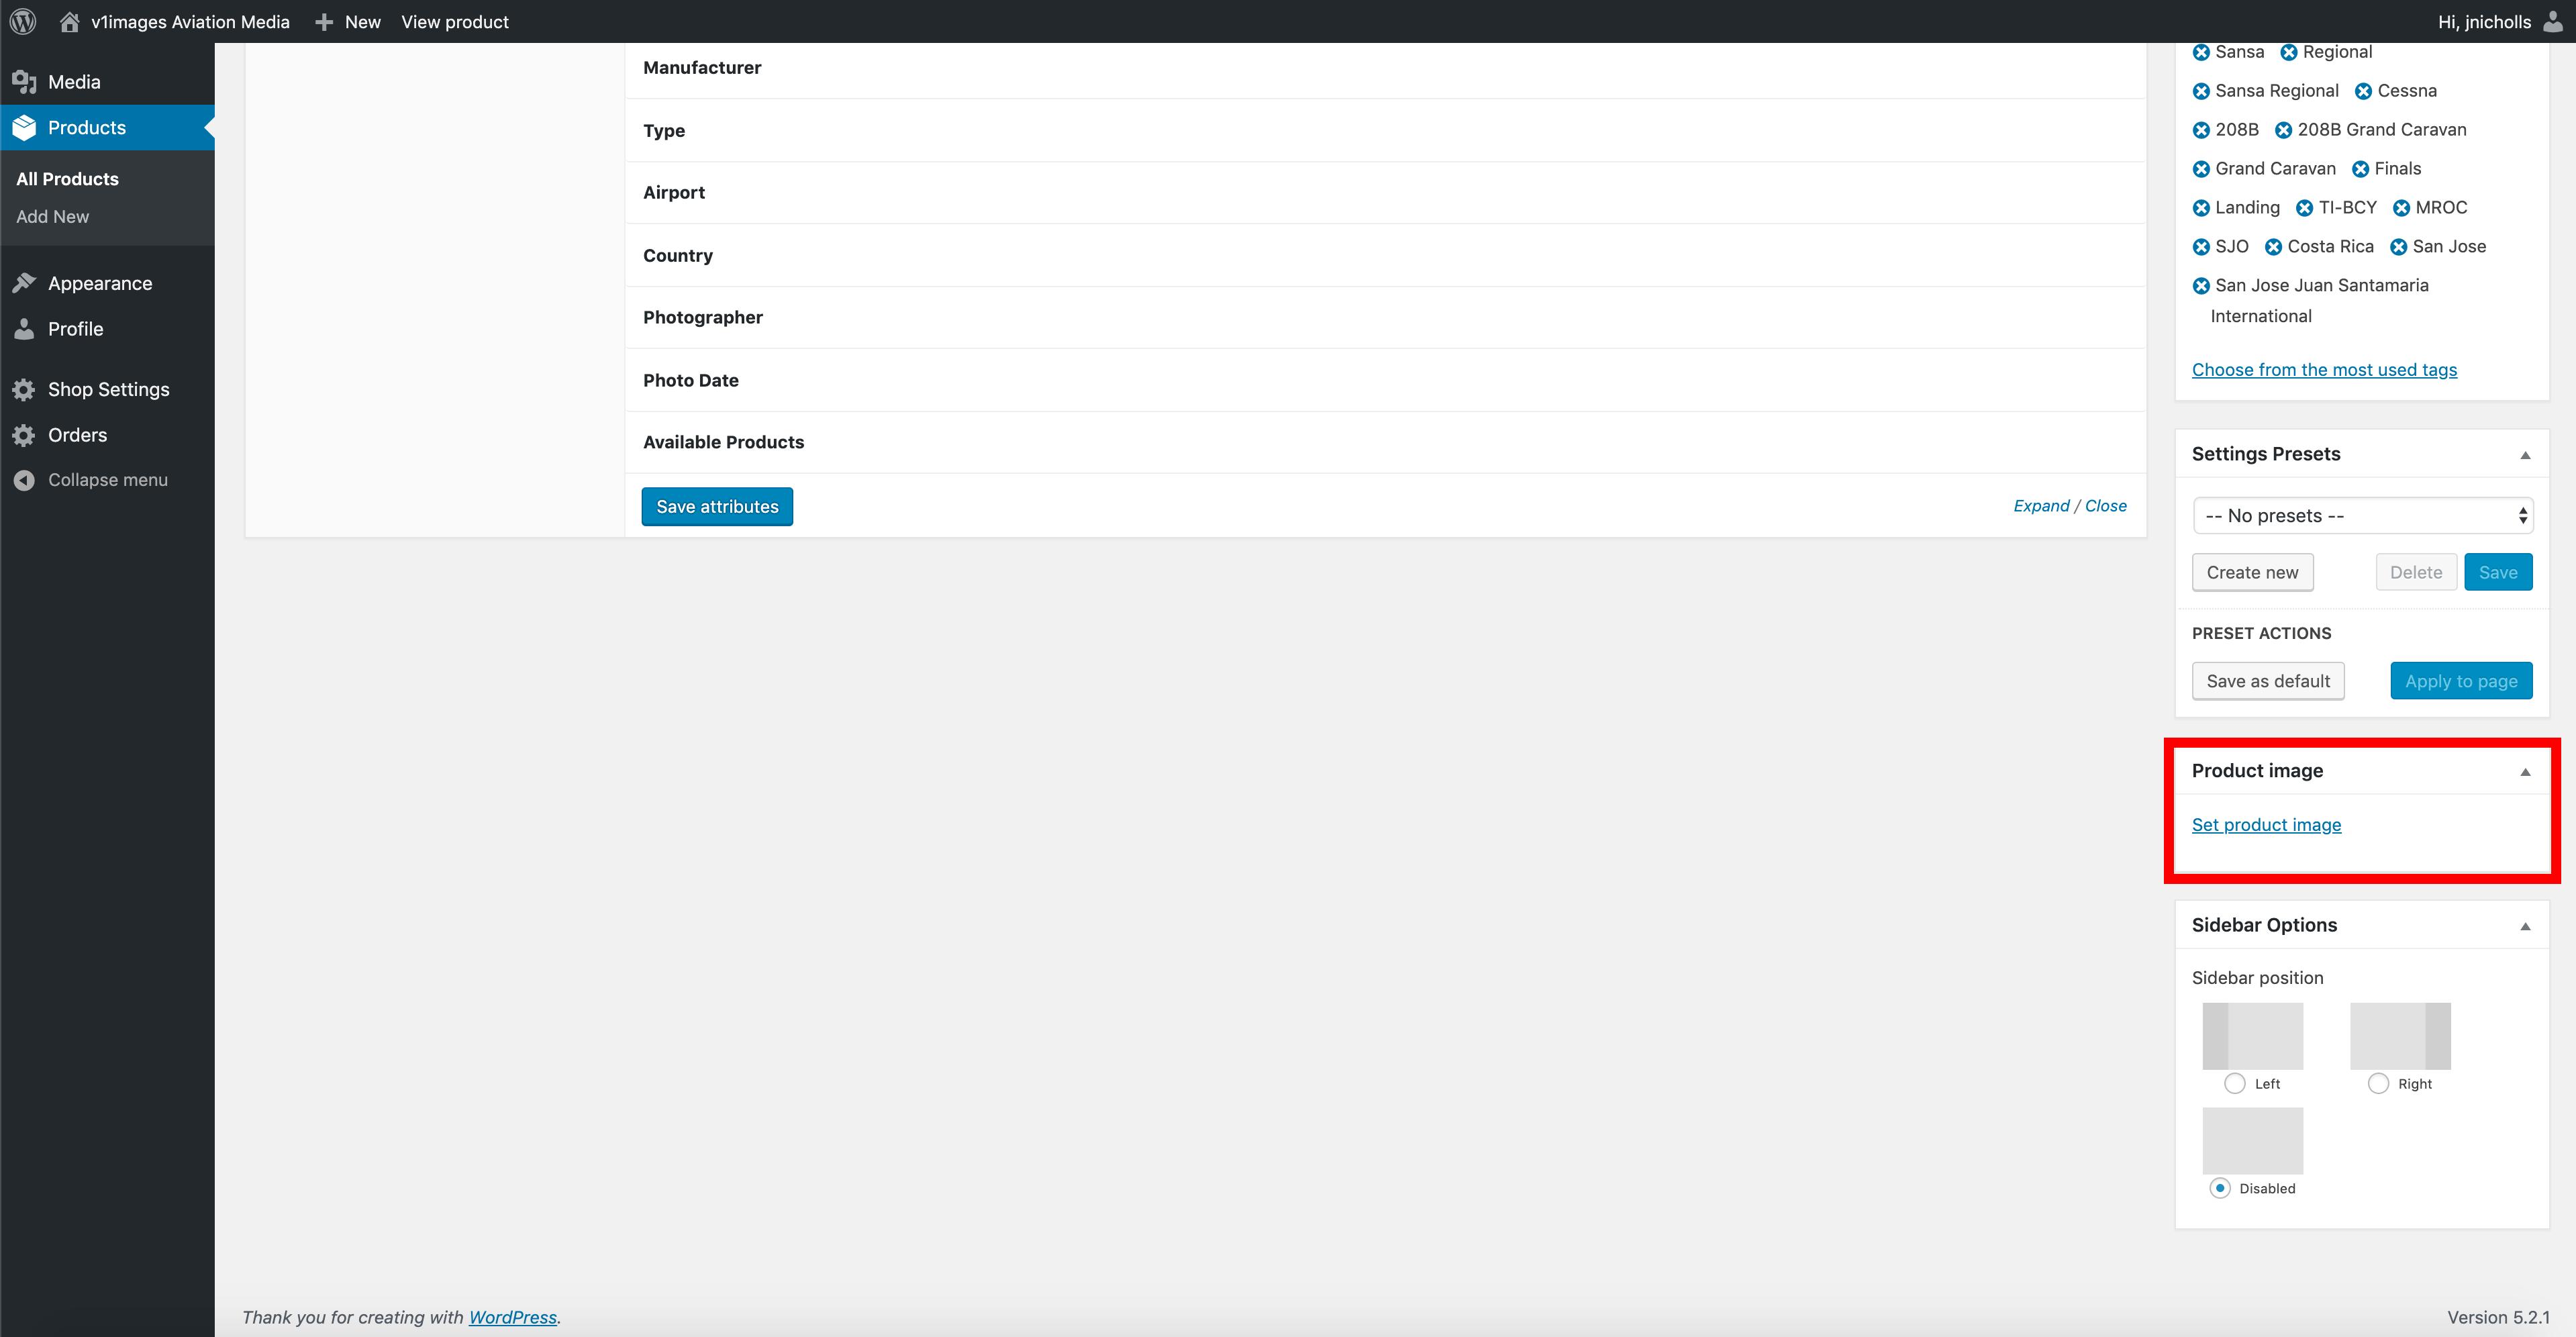
To assign an image to upload click on the link which says ‘Set product image’ in the highlighted box/area.
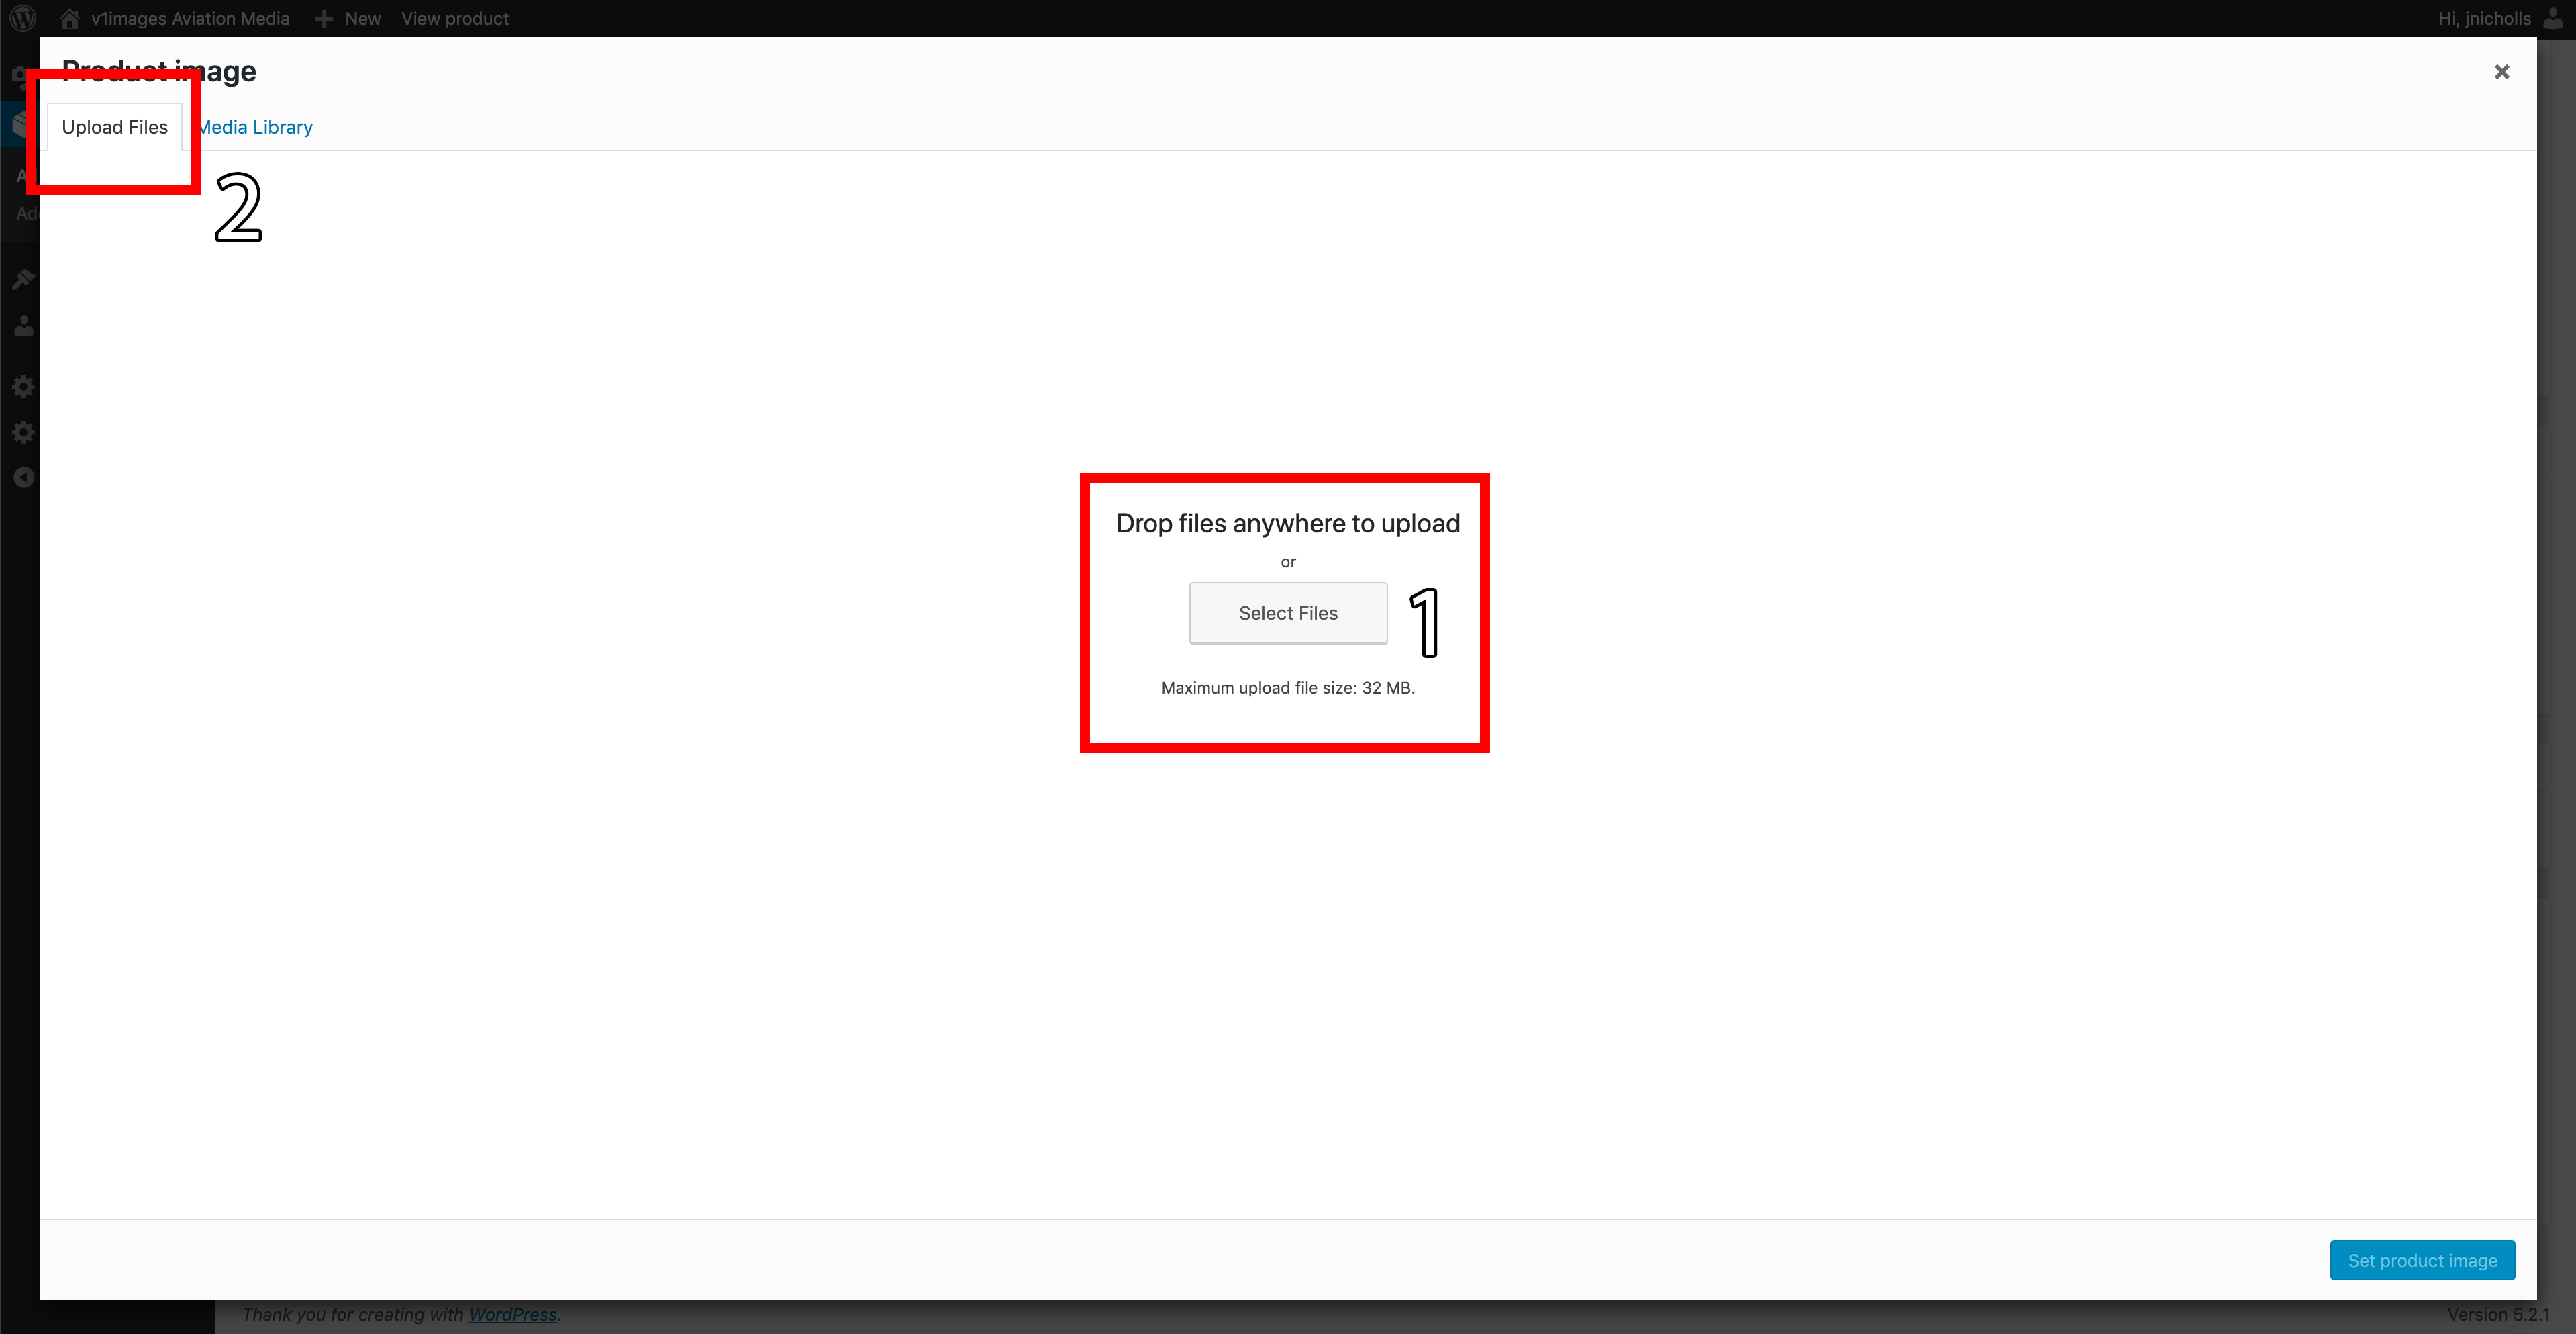
Now click ‘select file’ (Point 1). If this does not show please click ‘Upload Files’ (Point 2) and it should come up as displayed below.
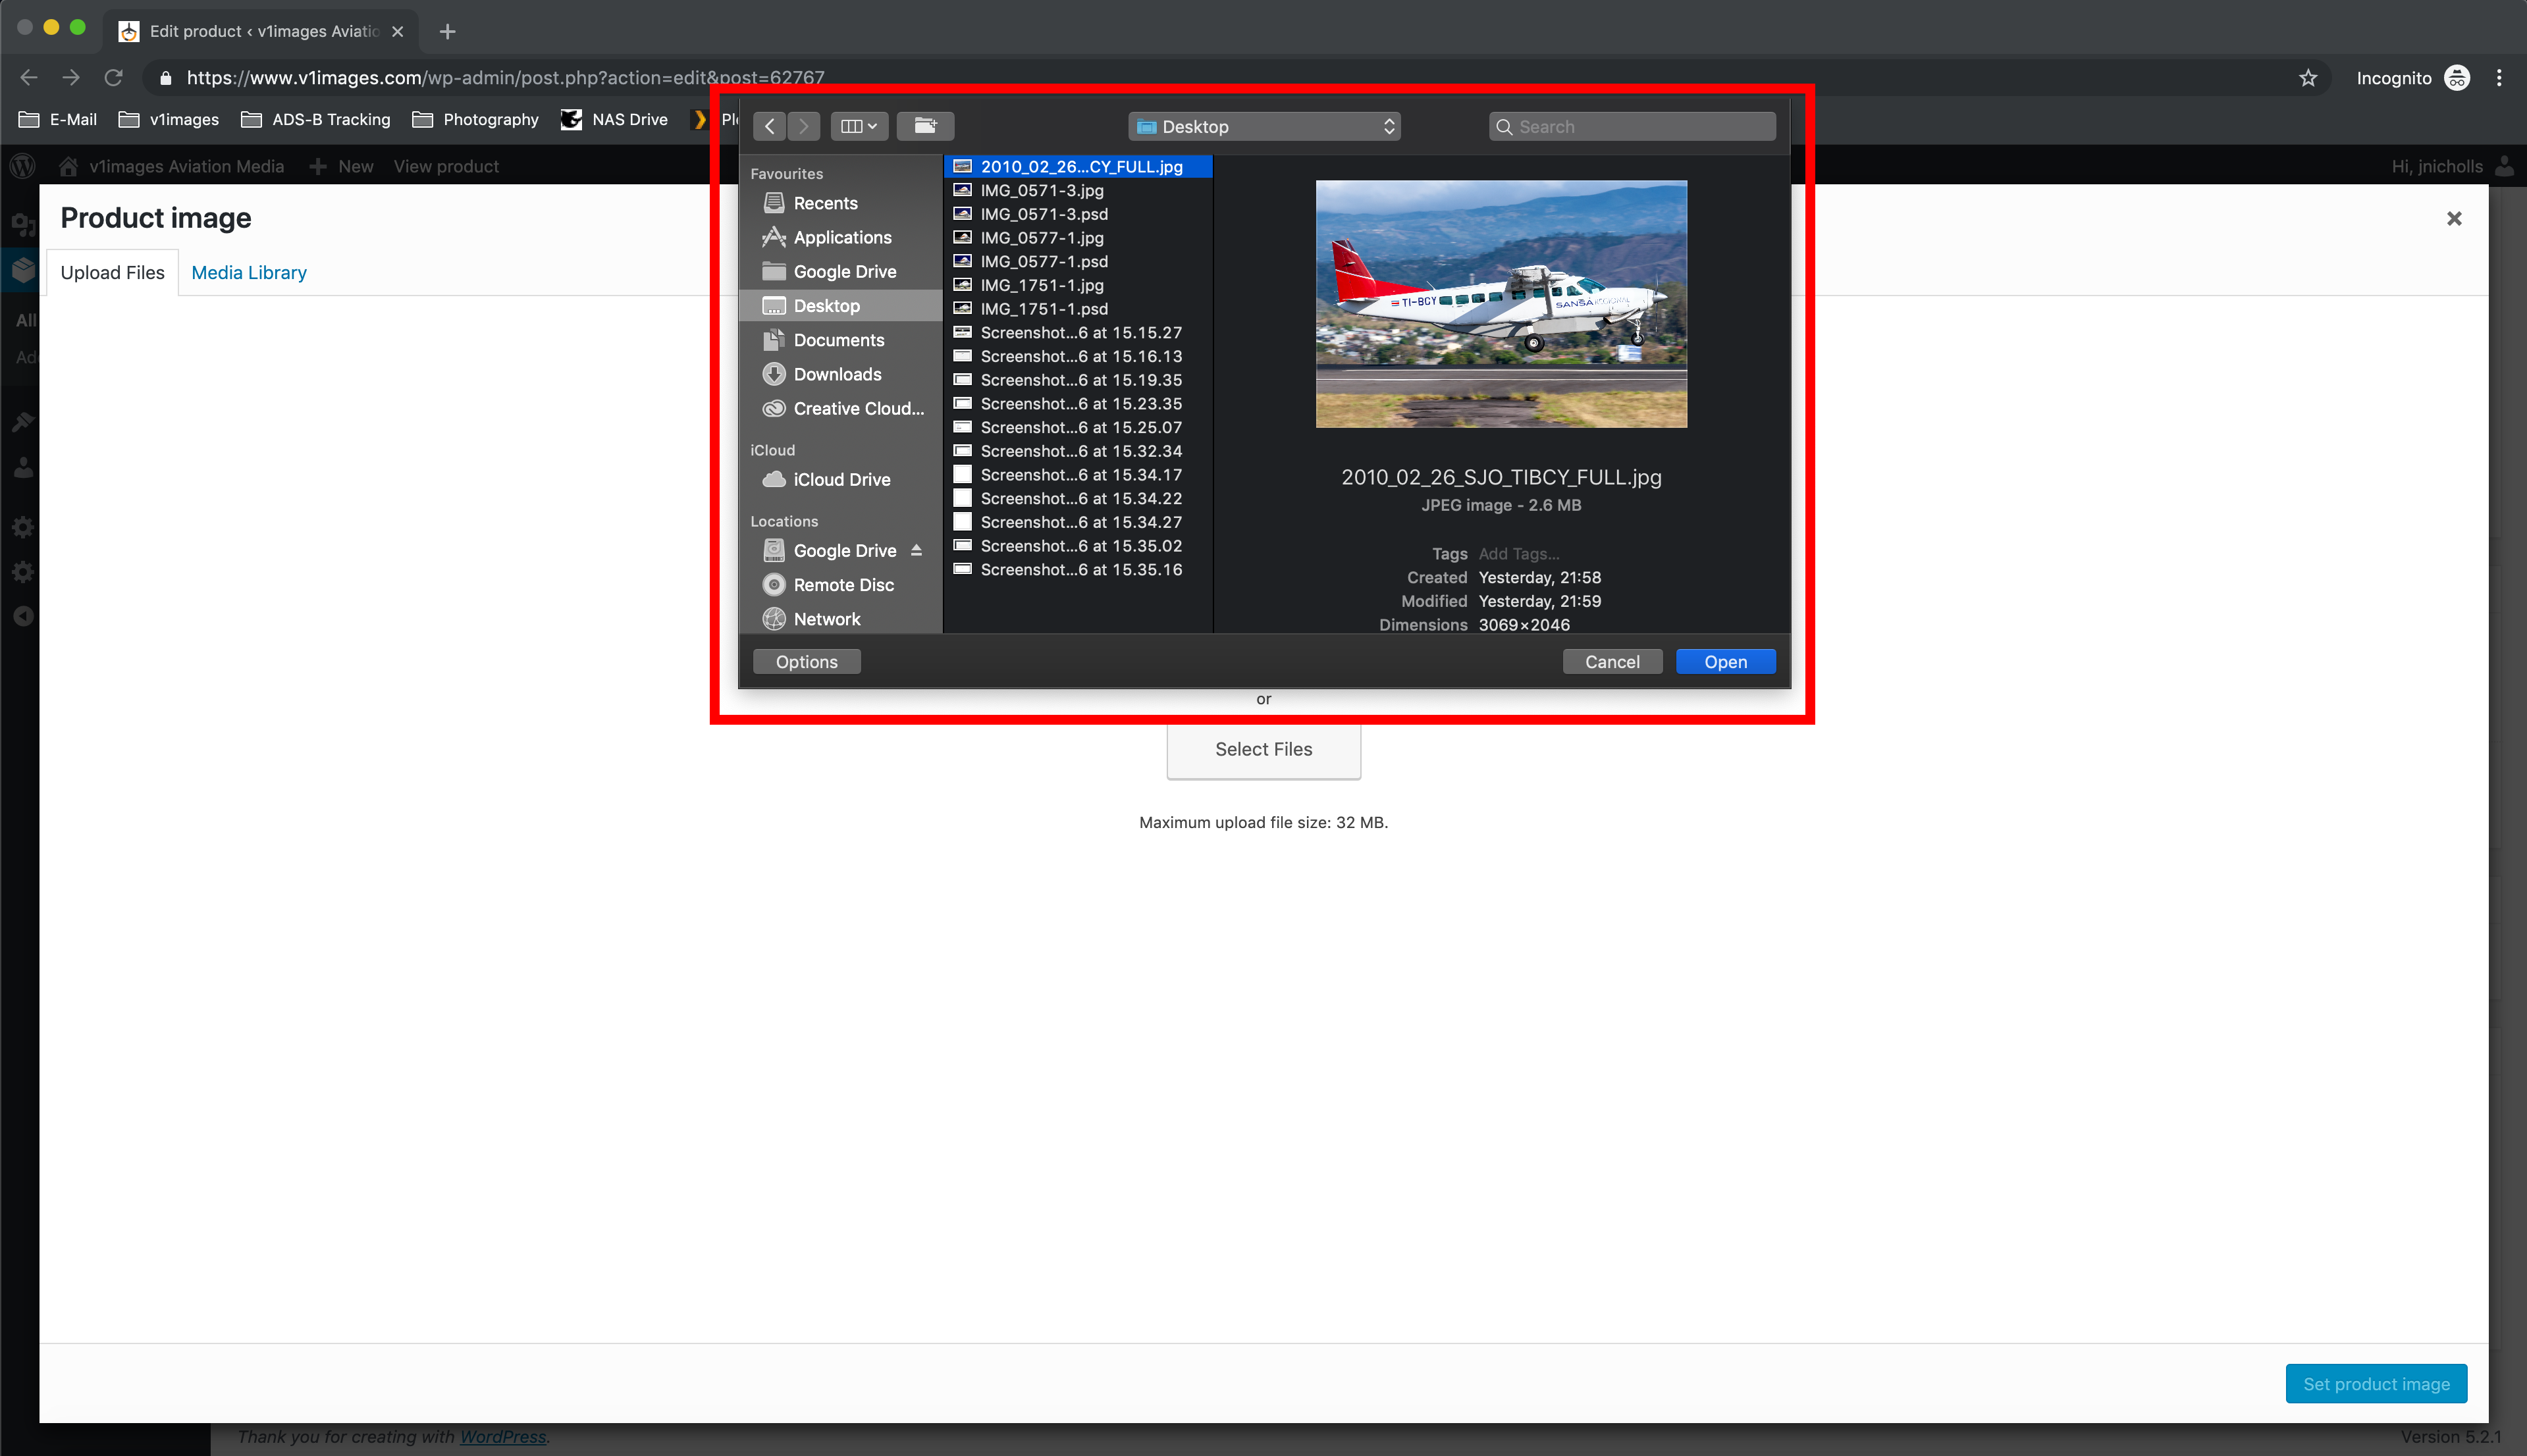
Now use your file browser on the screen to find the image you would like to attach to the upload you are doing. Please ensure the image resolution is above the minimum resolution we require and as highlighted in the photographer agreement. Anything below the minimum will be rejected outright.
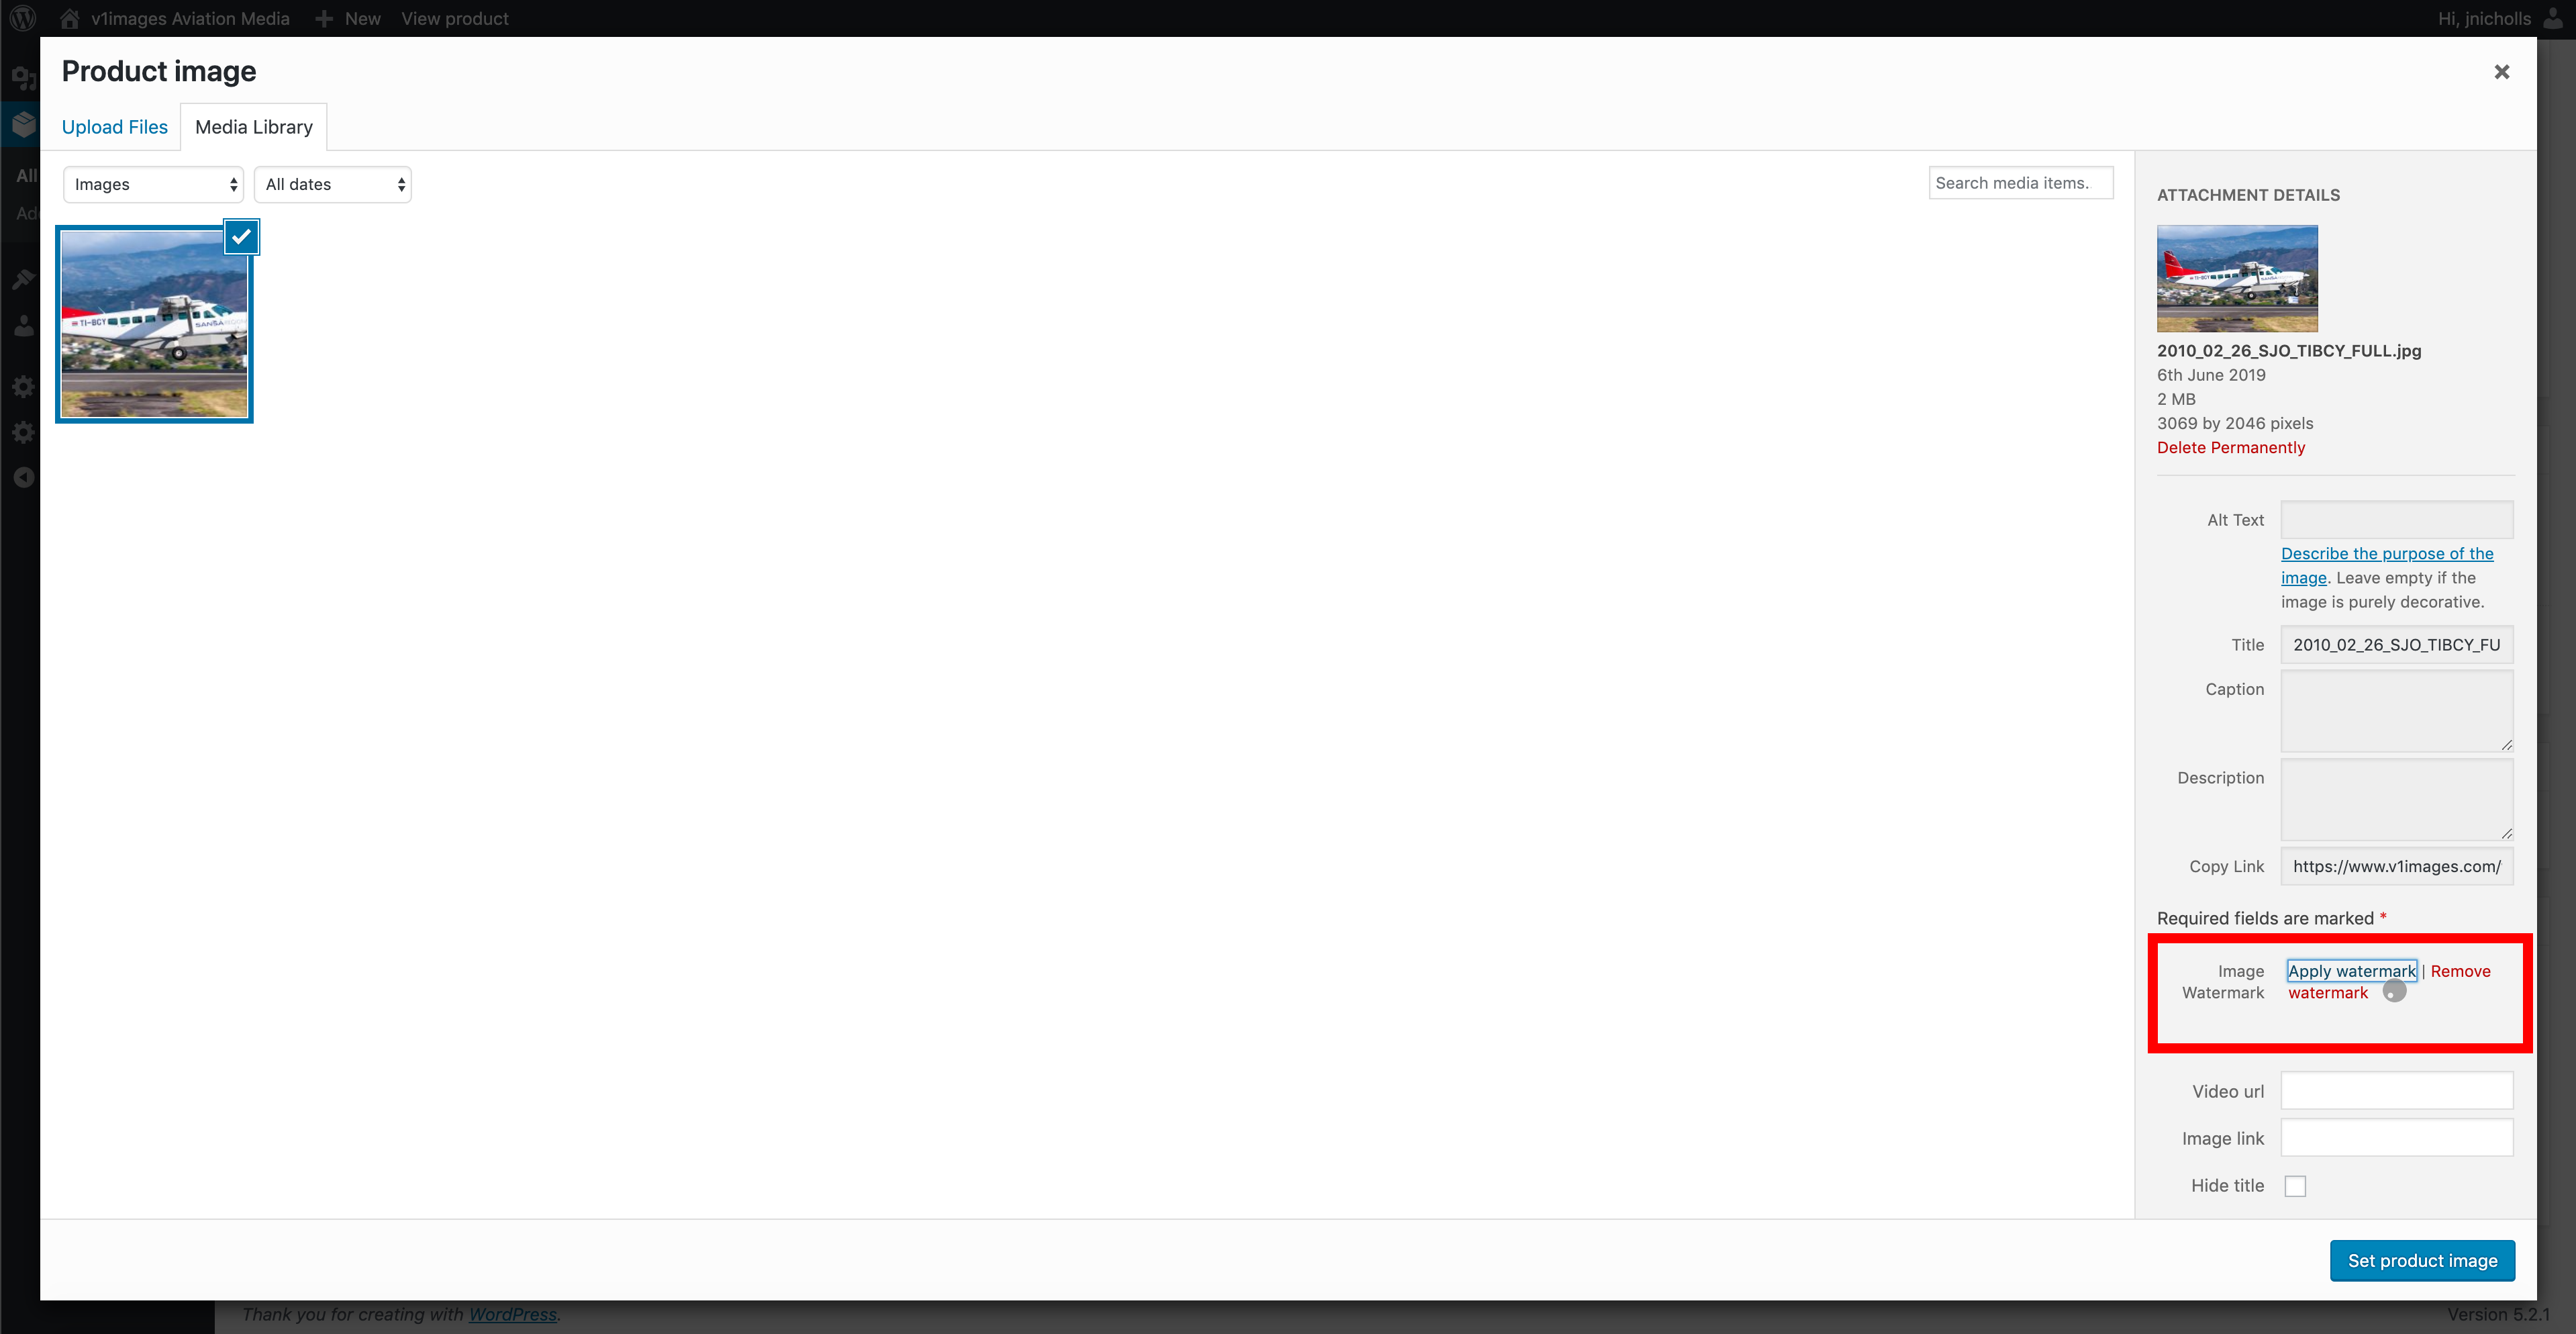
Now you should see a screen similar to below, navigate to the bottom right-hand corner of the screen and ensure you click on ‘Apply Watermark’. A small wheel will turn and then turn into a tick once the watermark has been applied. Only proceed once you see the tick to ensure the watermark is 100% applied.
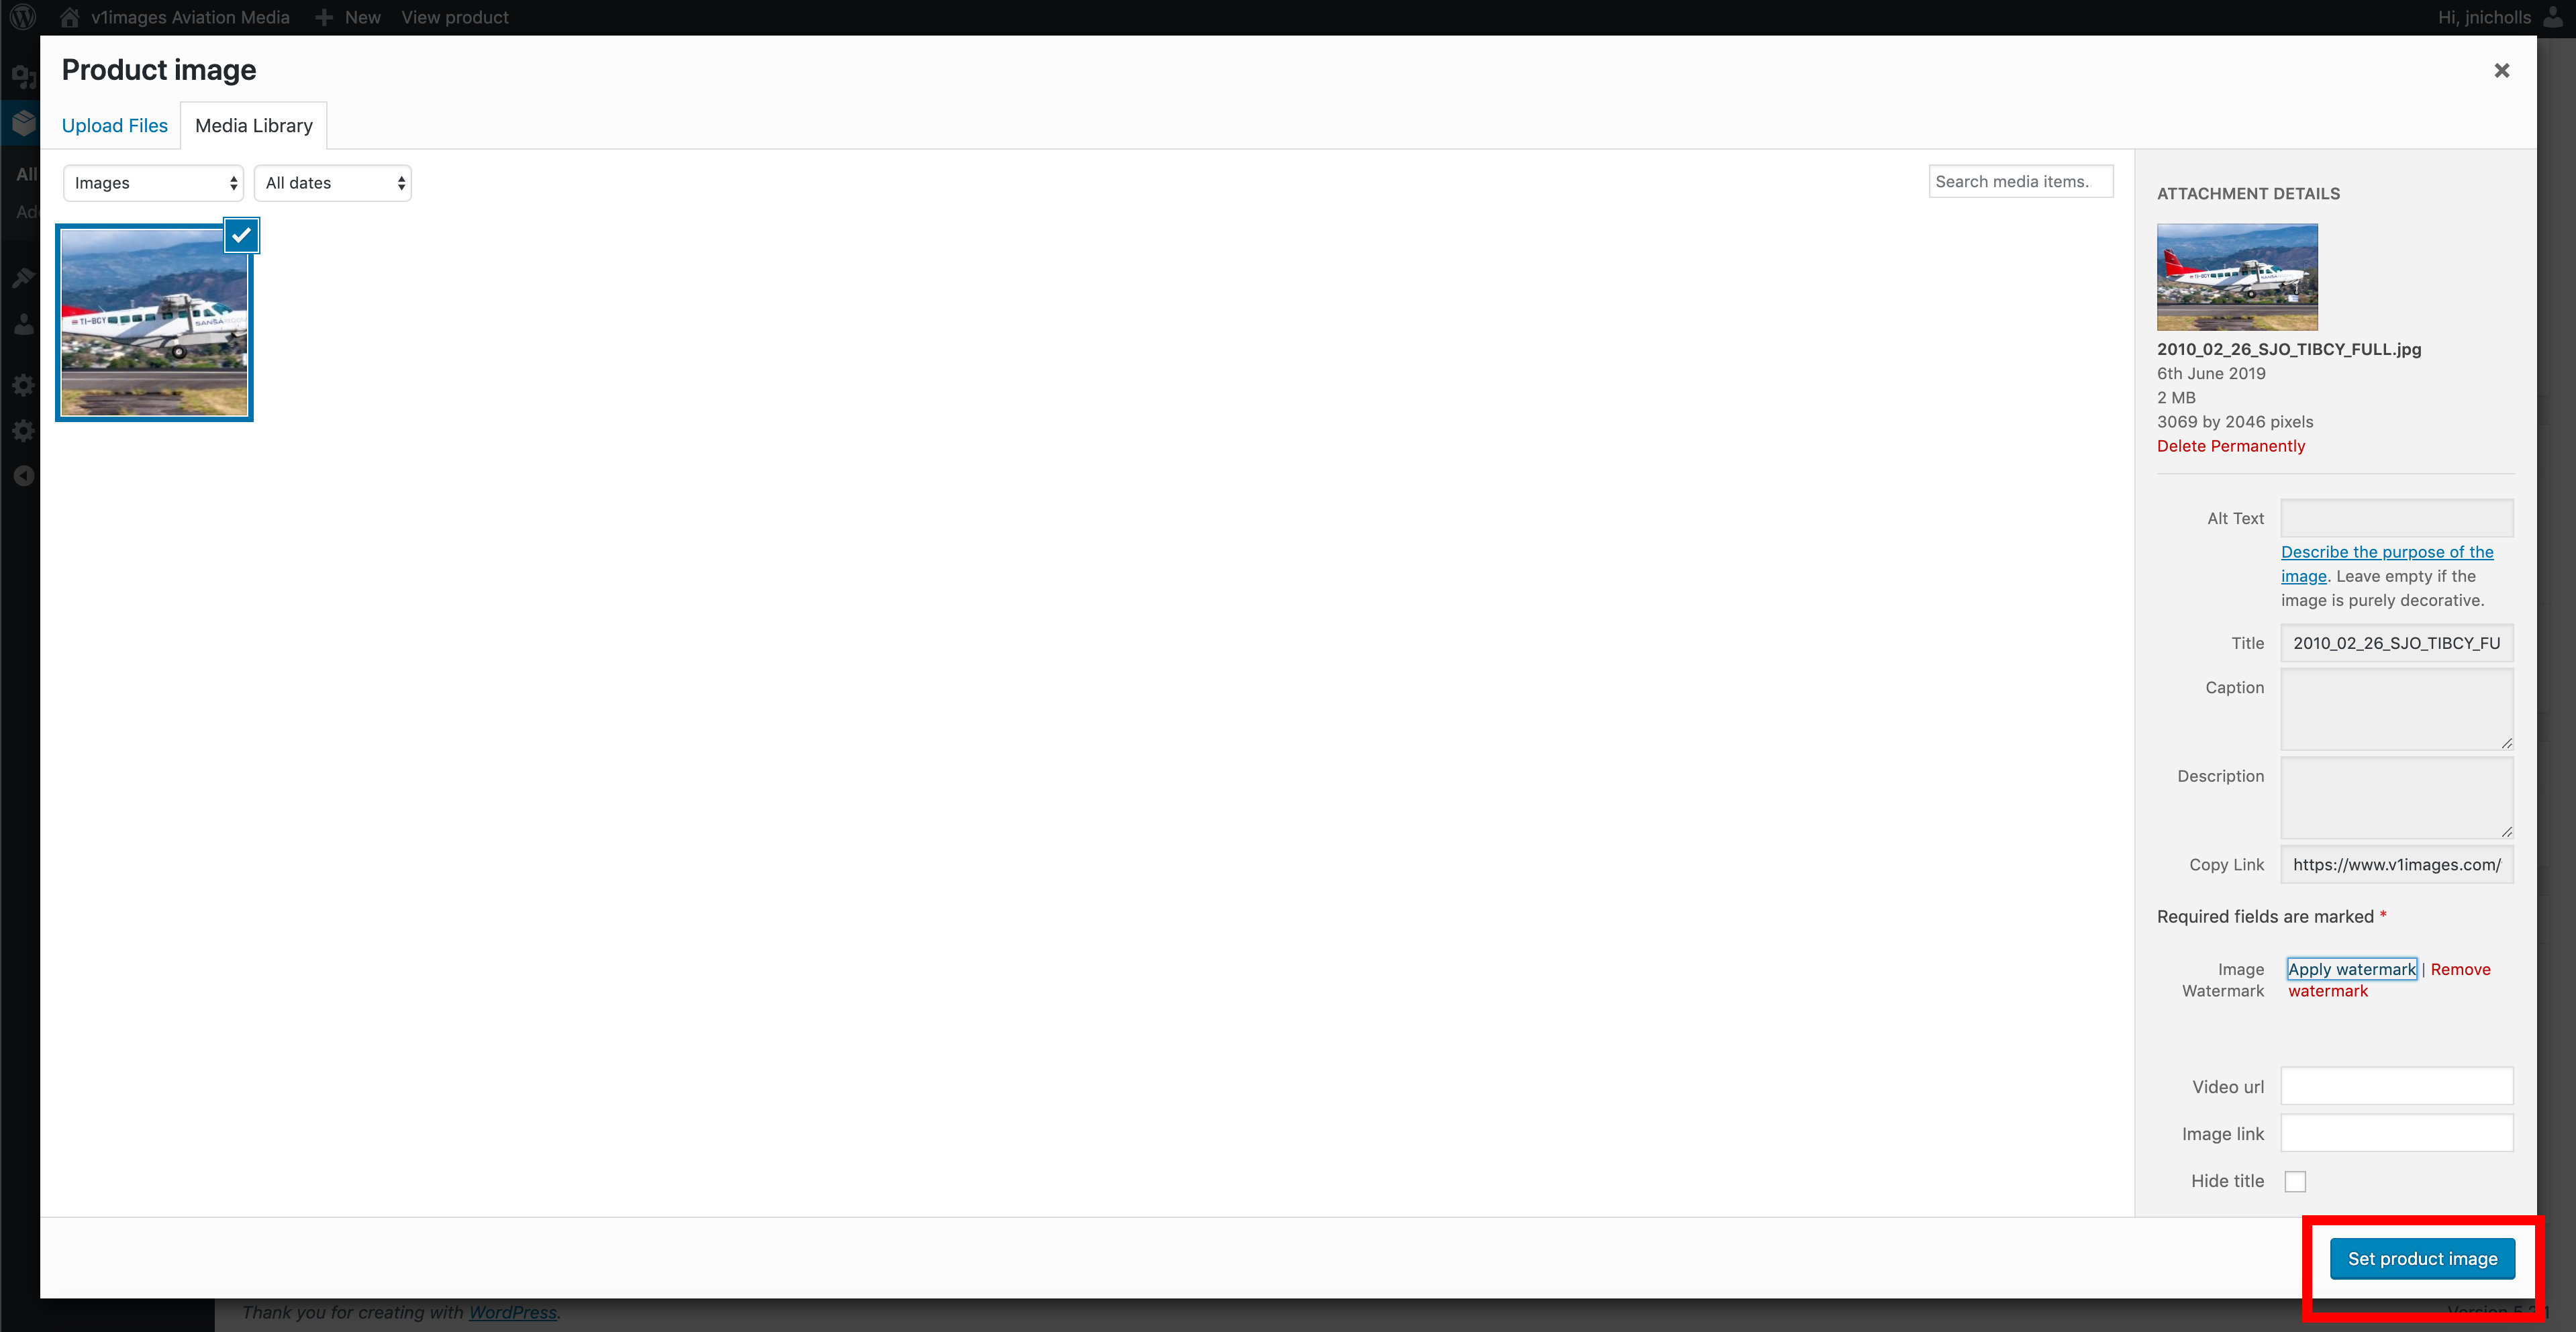
Once the watermark has applied successfully please click on ‘Set product image’.
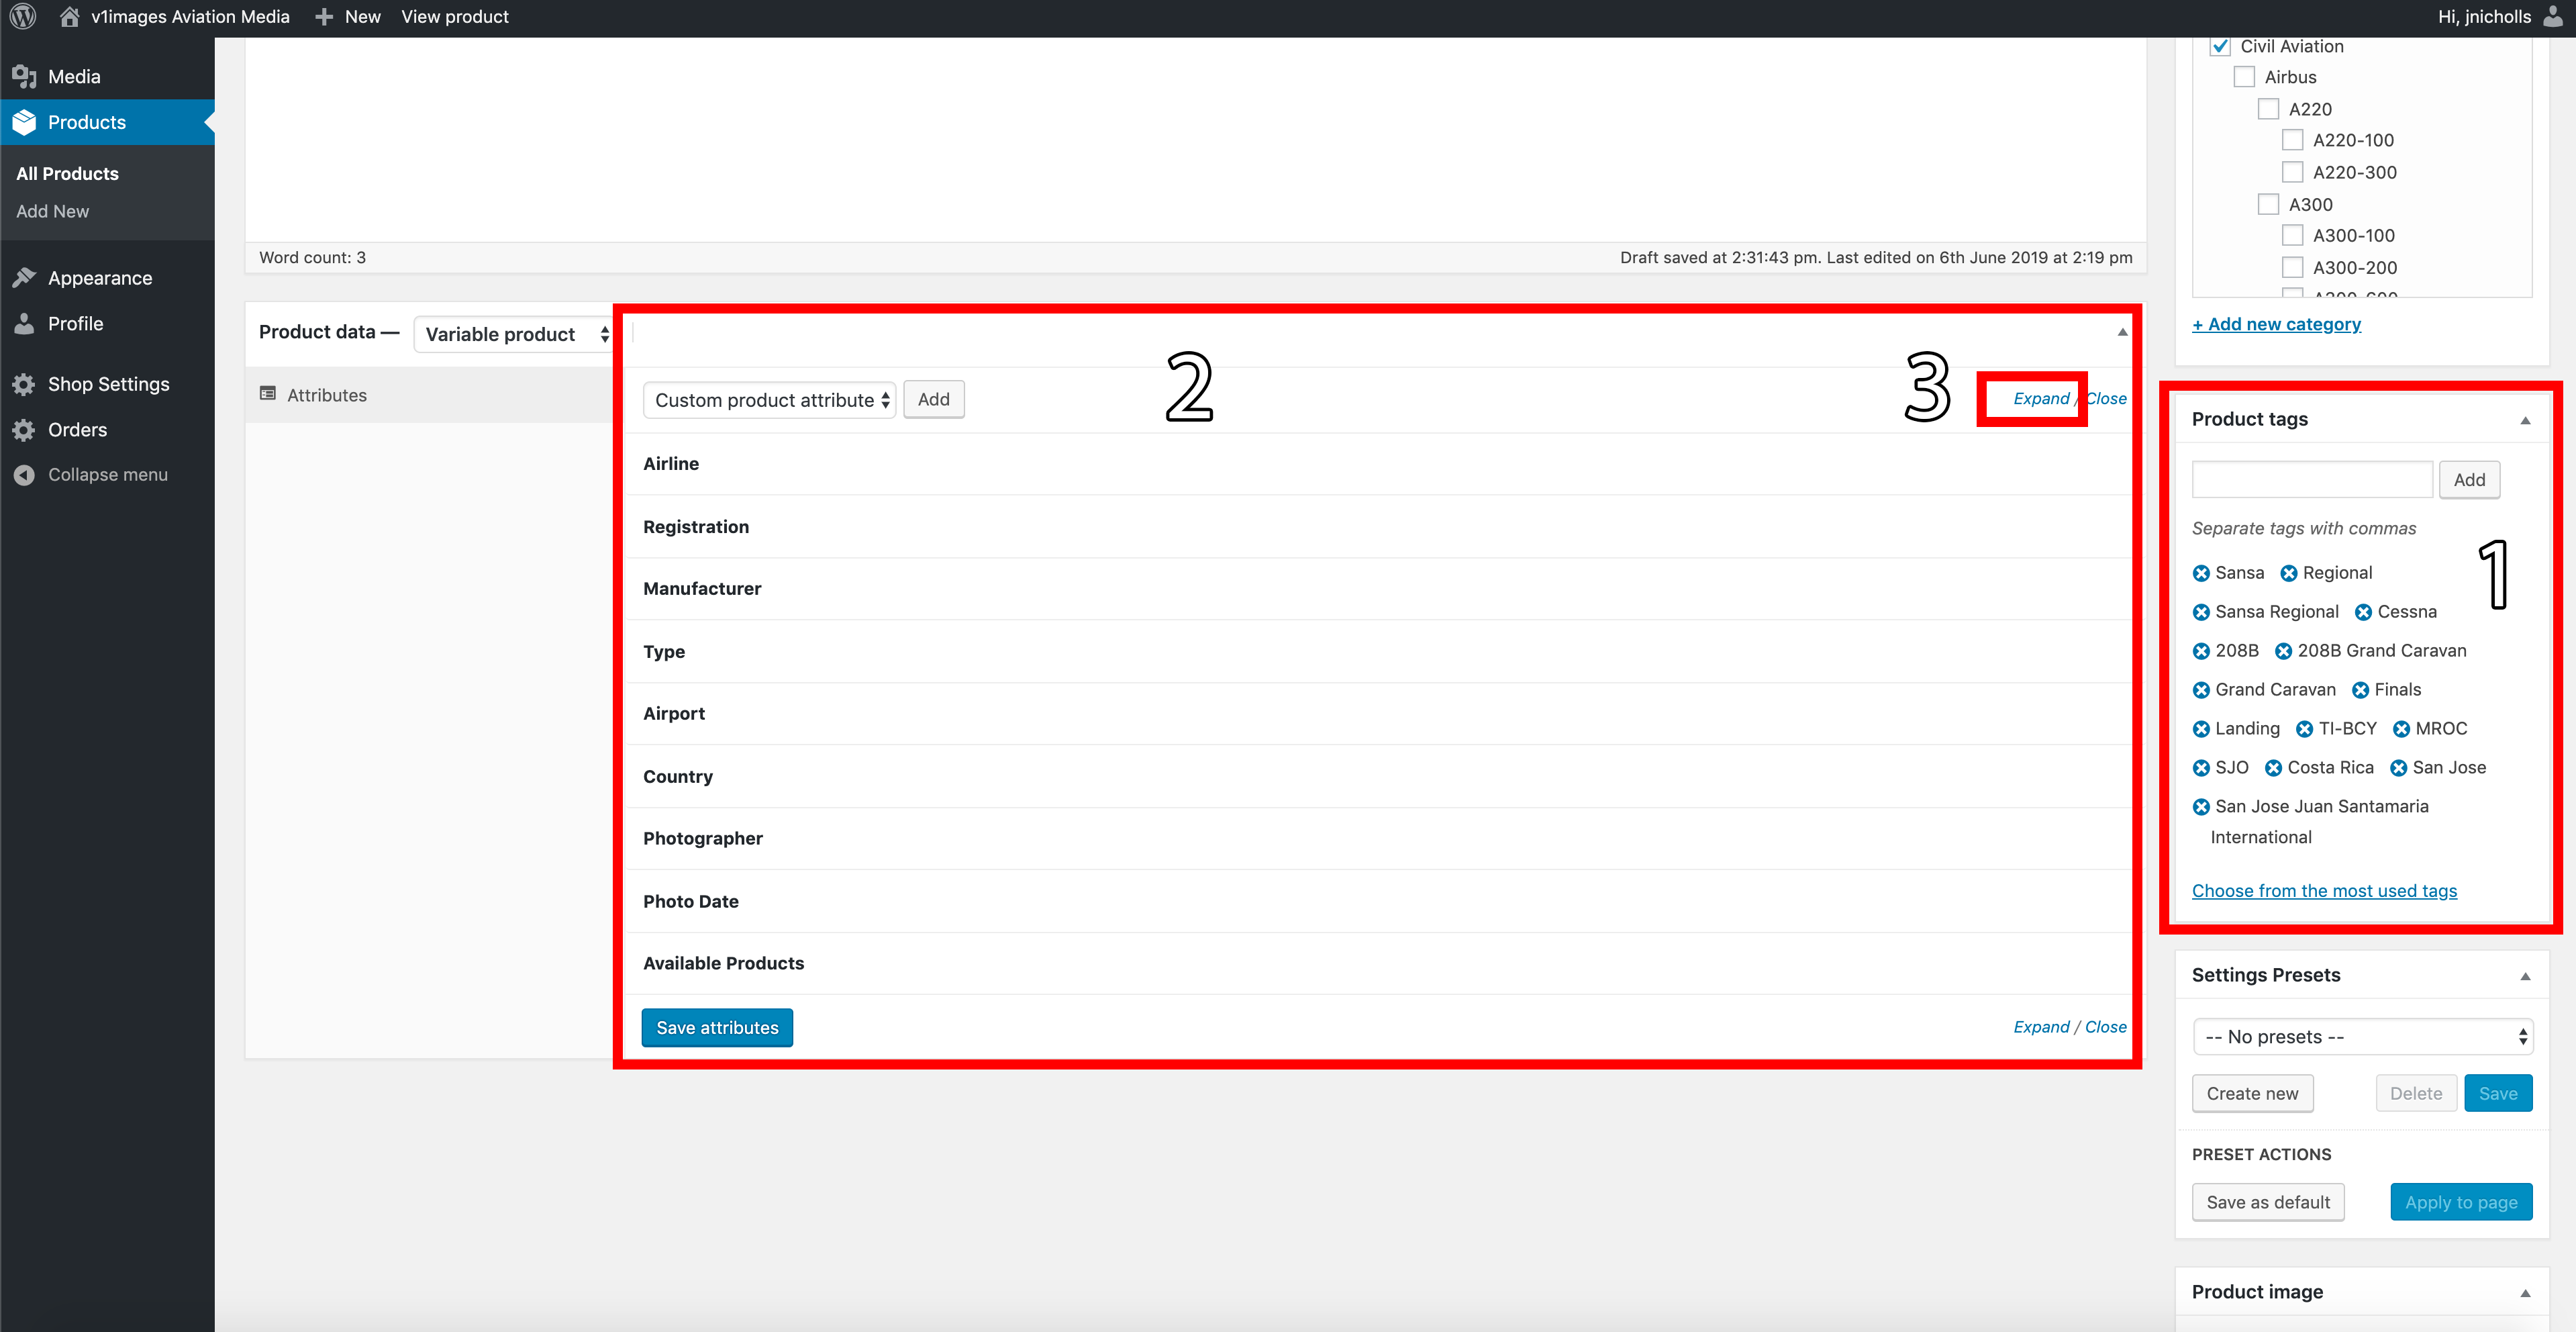
The next step is to enter some image tags (Point 1) that are relevant to the image you are uploading, similar to Instagram/Twitter or Flickr. You can add as many, or as little as you like. However the better you tag your images the more likely Google will index your image and drive people to view it, and the more likely somebody searching on the site will have your image as a result.
Next is data entry for the image (Point 2) which also feeds into search engines and the site search/image filter we have built-in. It is critical data entered into here is not only correct but in line with the standards, we have set in place.
Click on ‘Expand’ (Point 3) to expand all data points you are required to fill in.
Delete the template data that is currently in place by pressing the x at the start each entry. Start typing the data you wish to add for each field, selecting the data for each from the drop-down menu that appears.
If what you are adding is a new entry there is a step further down what you will need to follow.
NOTE: Under ‘Type’ please only select the basic type i.e Boeing 777-300(ER) not Boeing 777-319(ER).
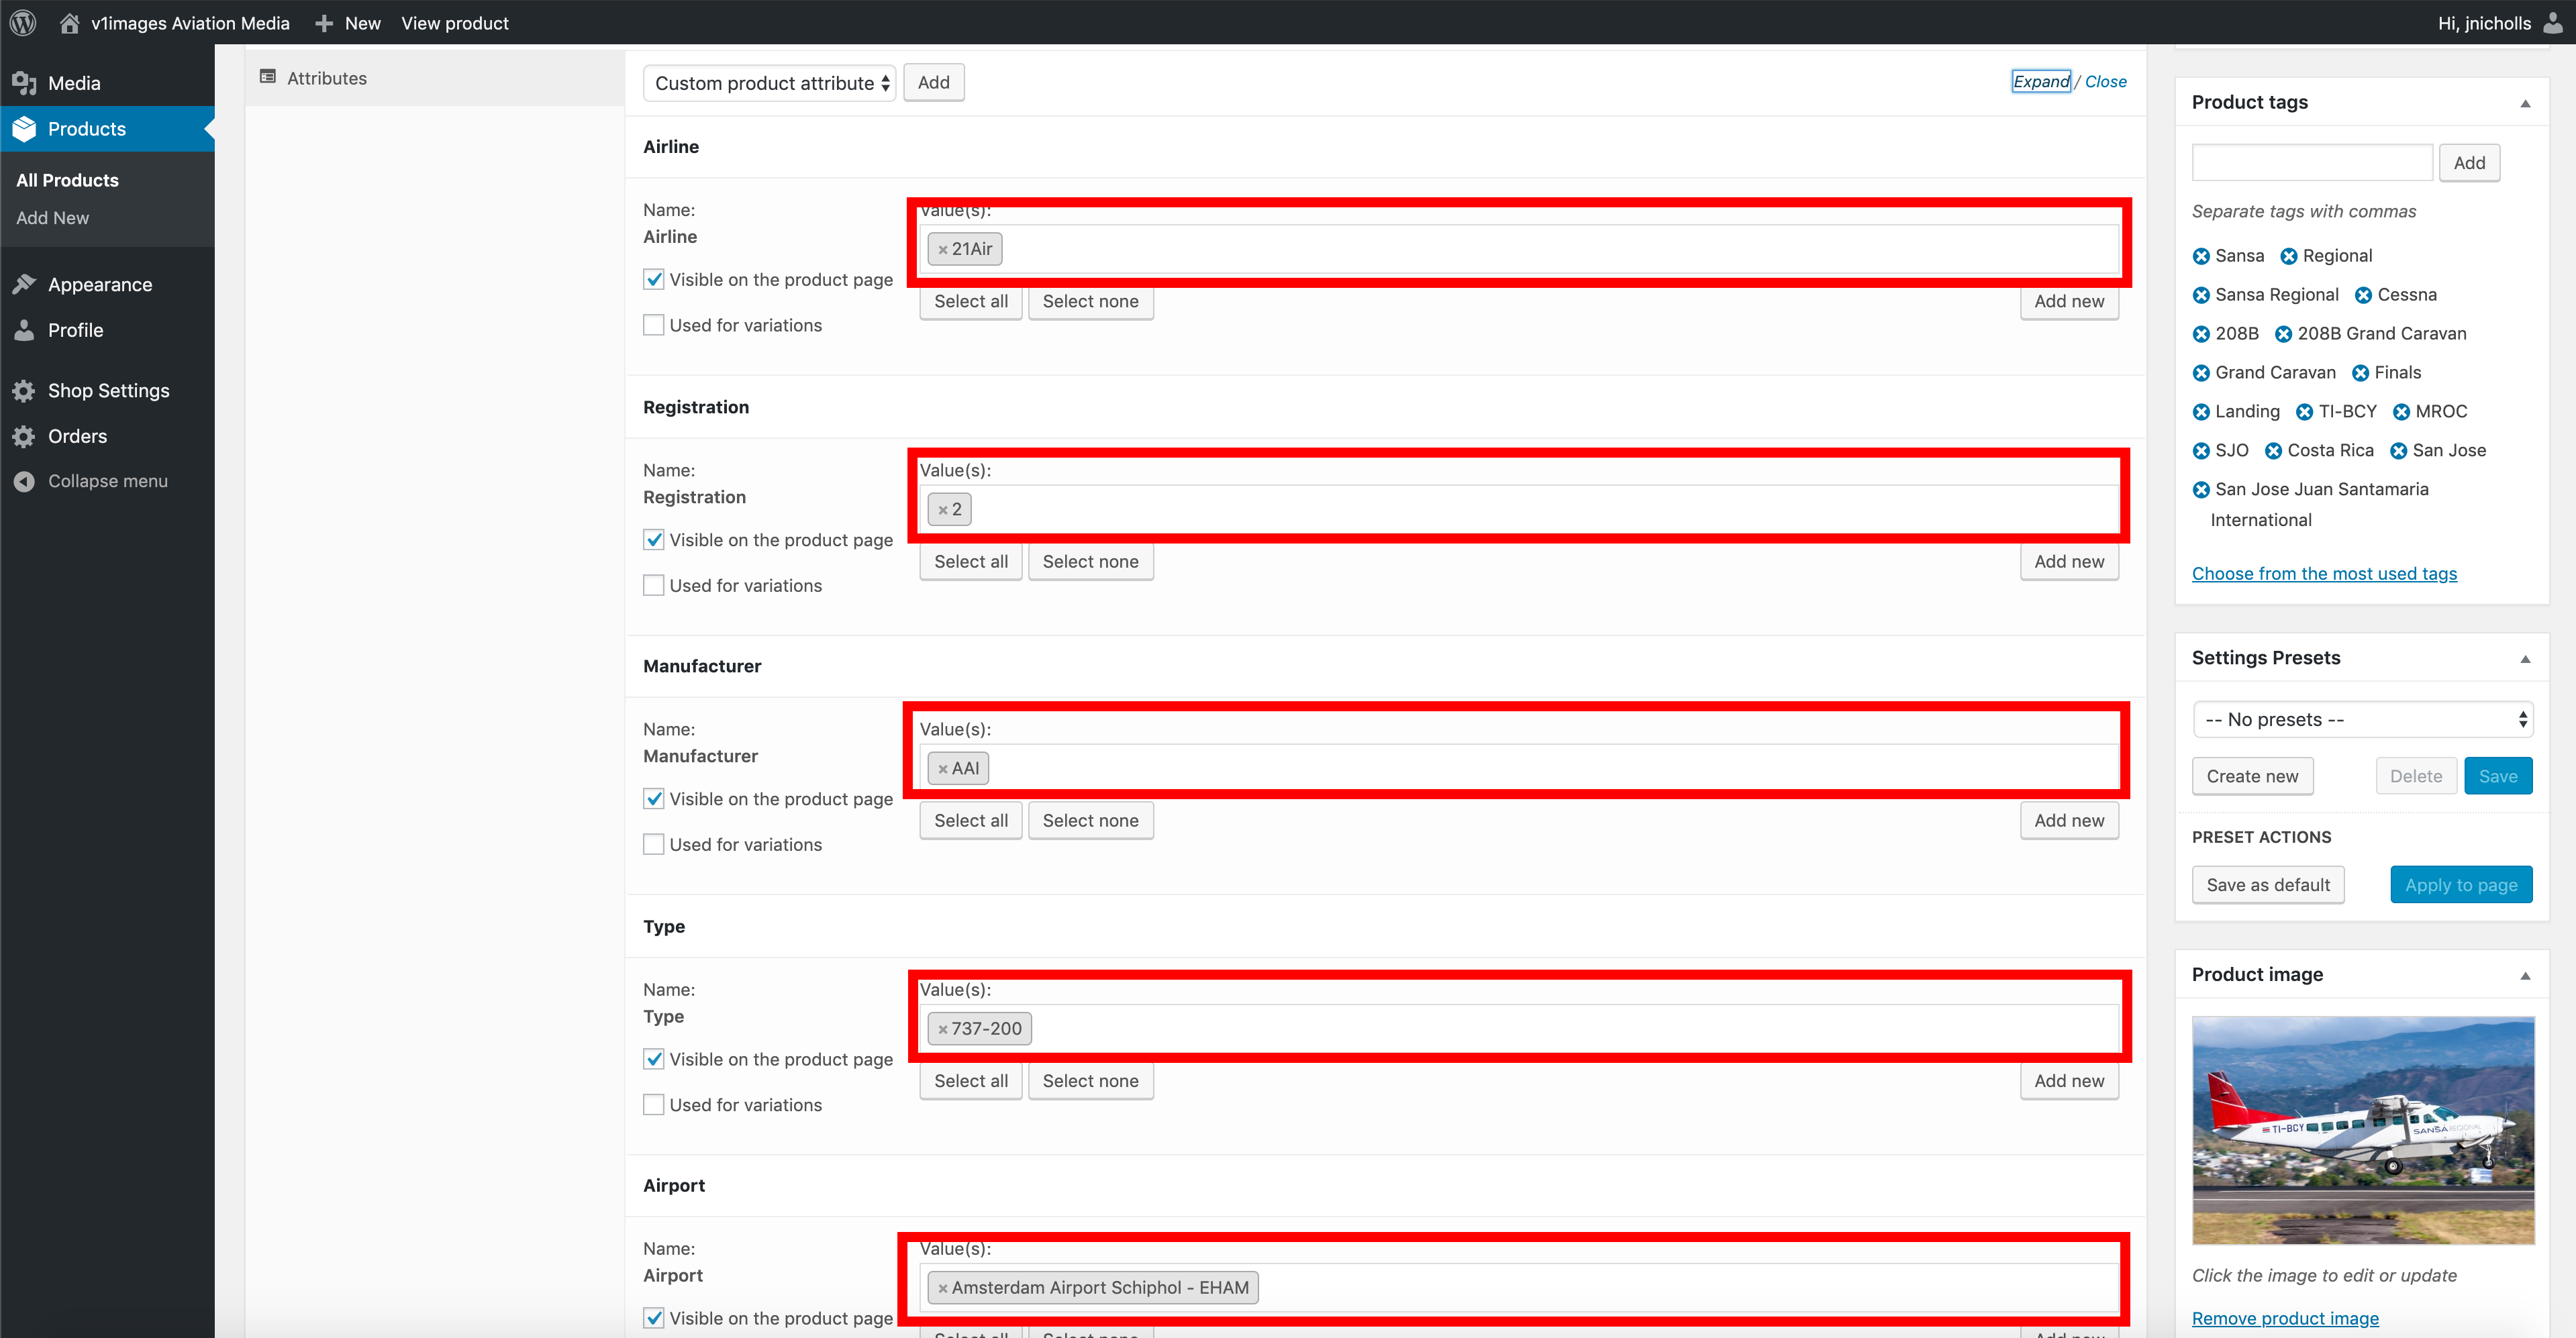
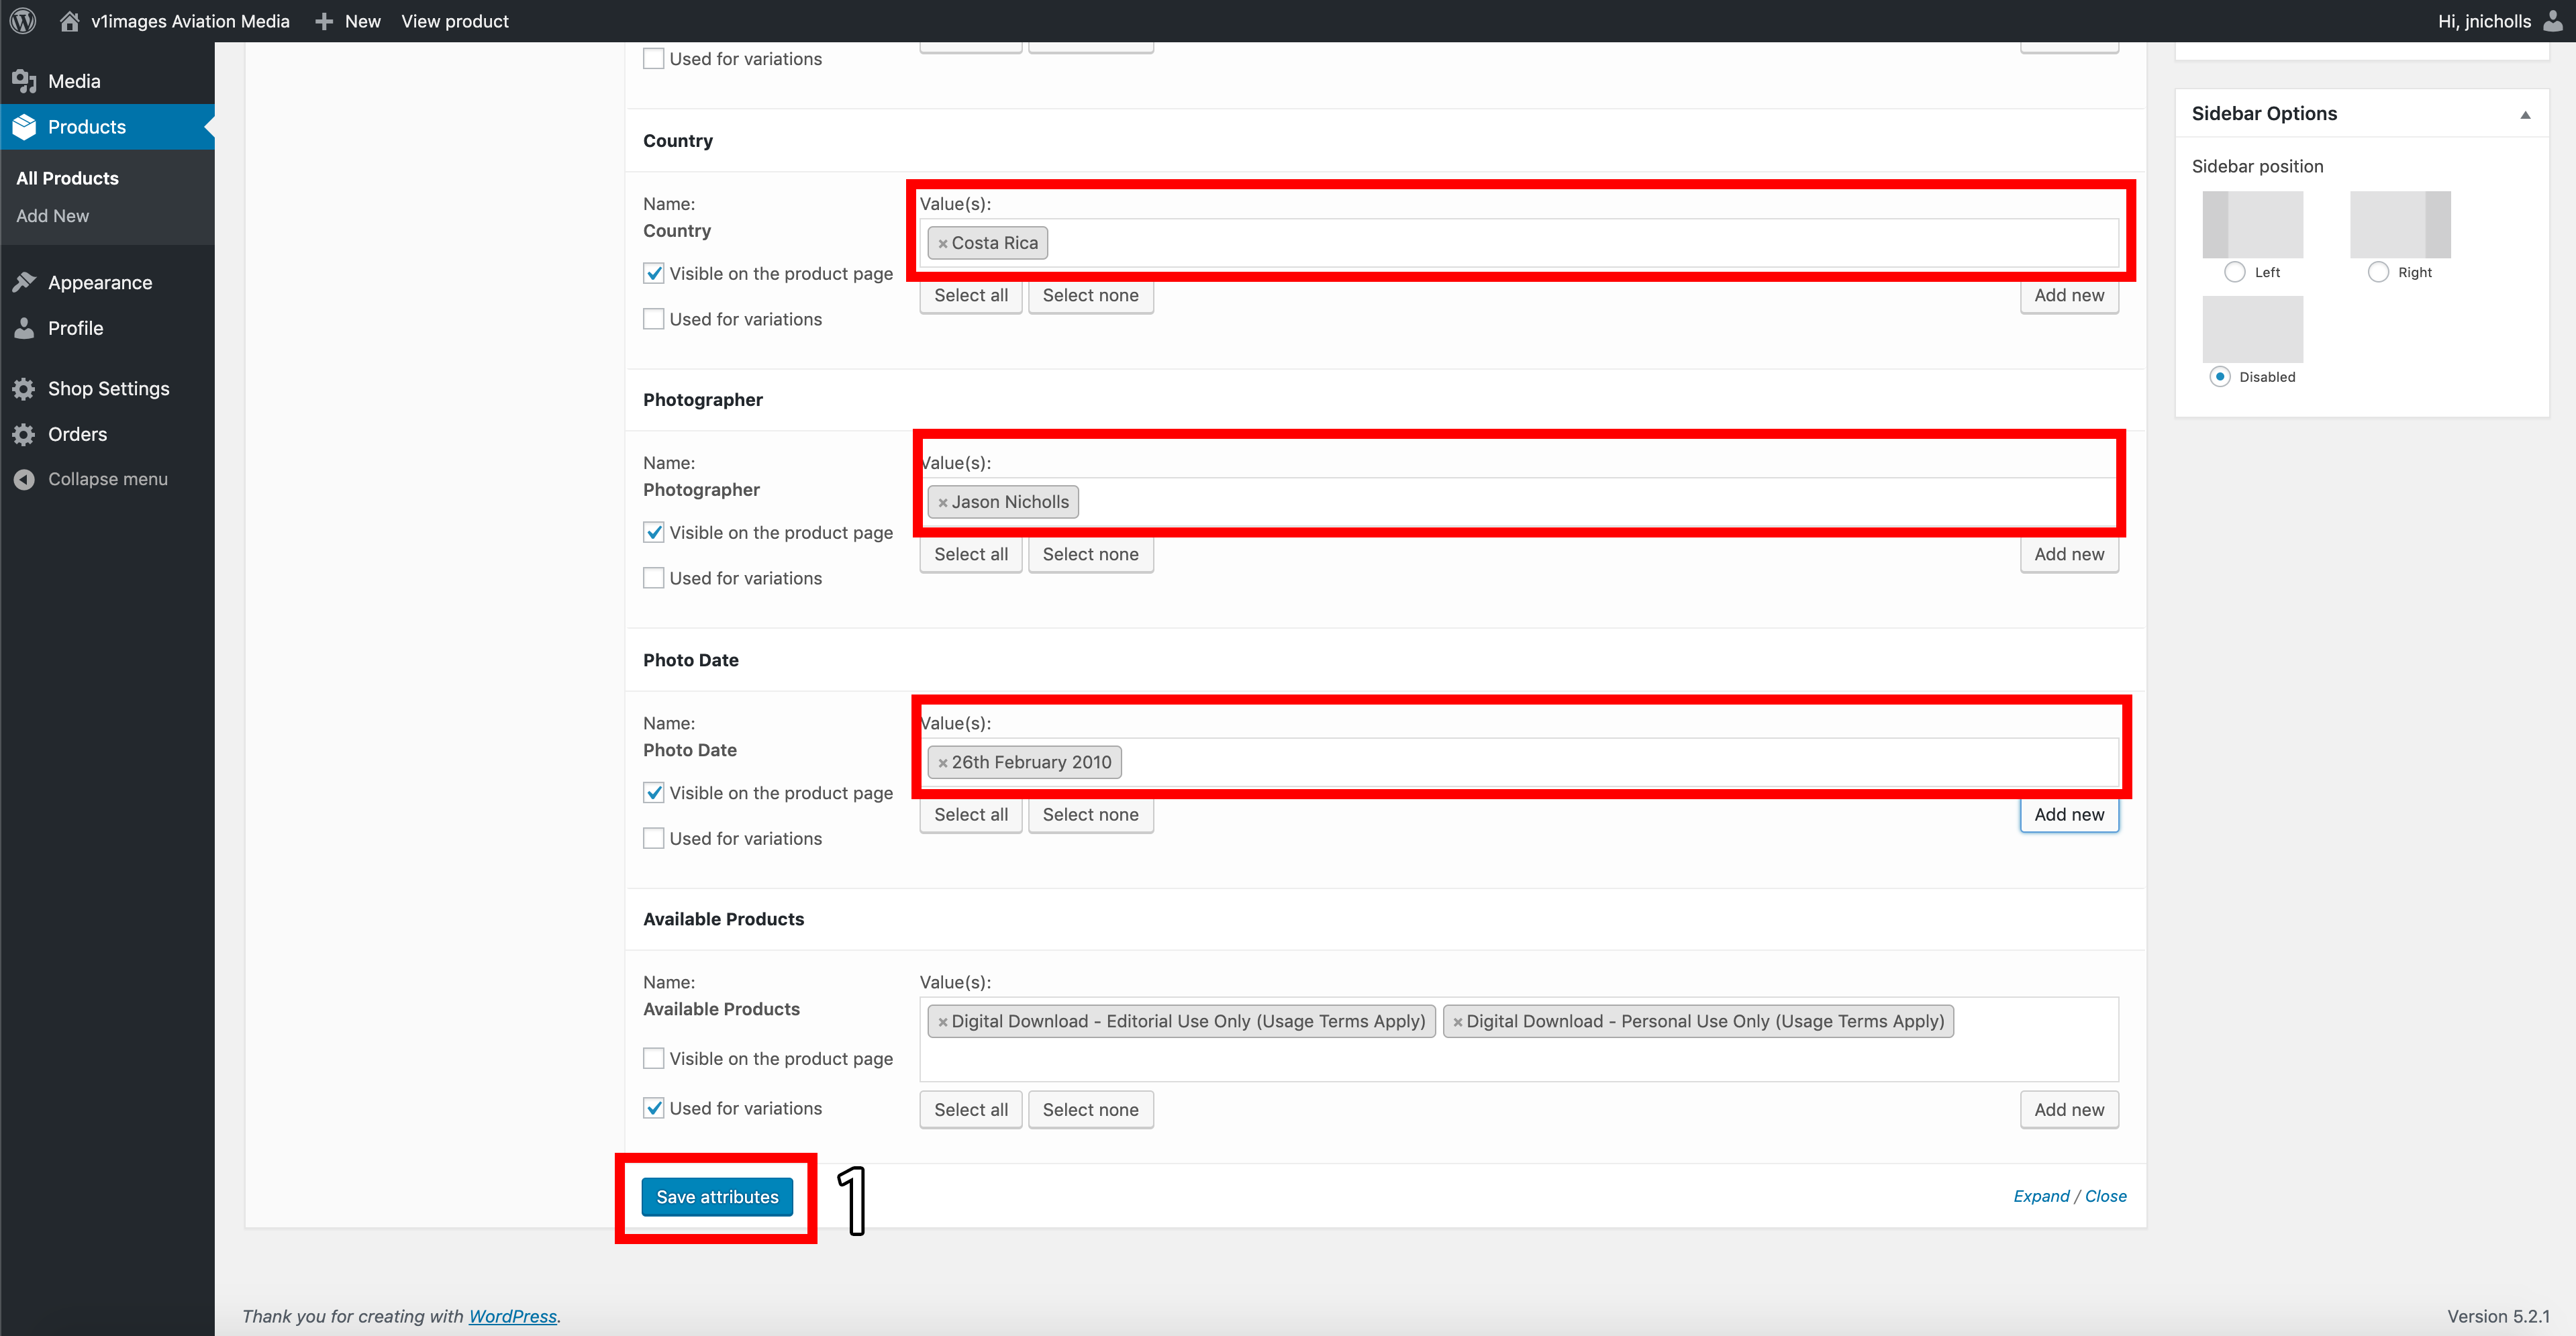
Continue entering data from the dropdowns or adding new data if it does not exist already following the below process.
Once all data has been entered you can click on ‘Save attributes’.
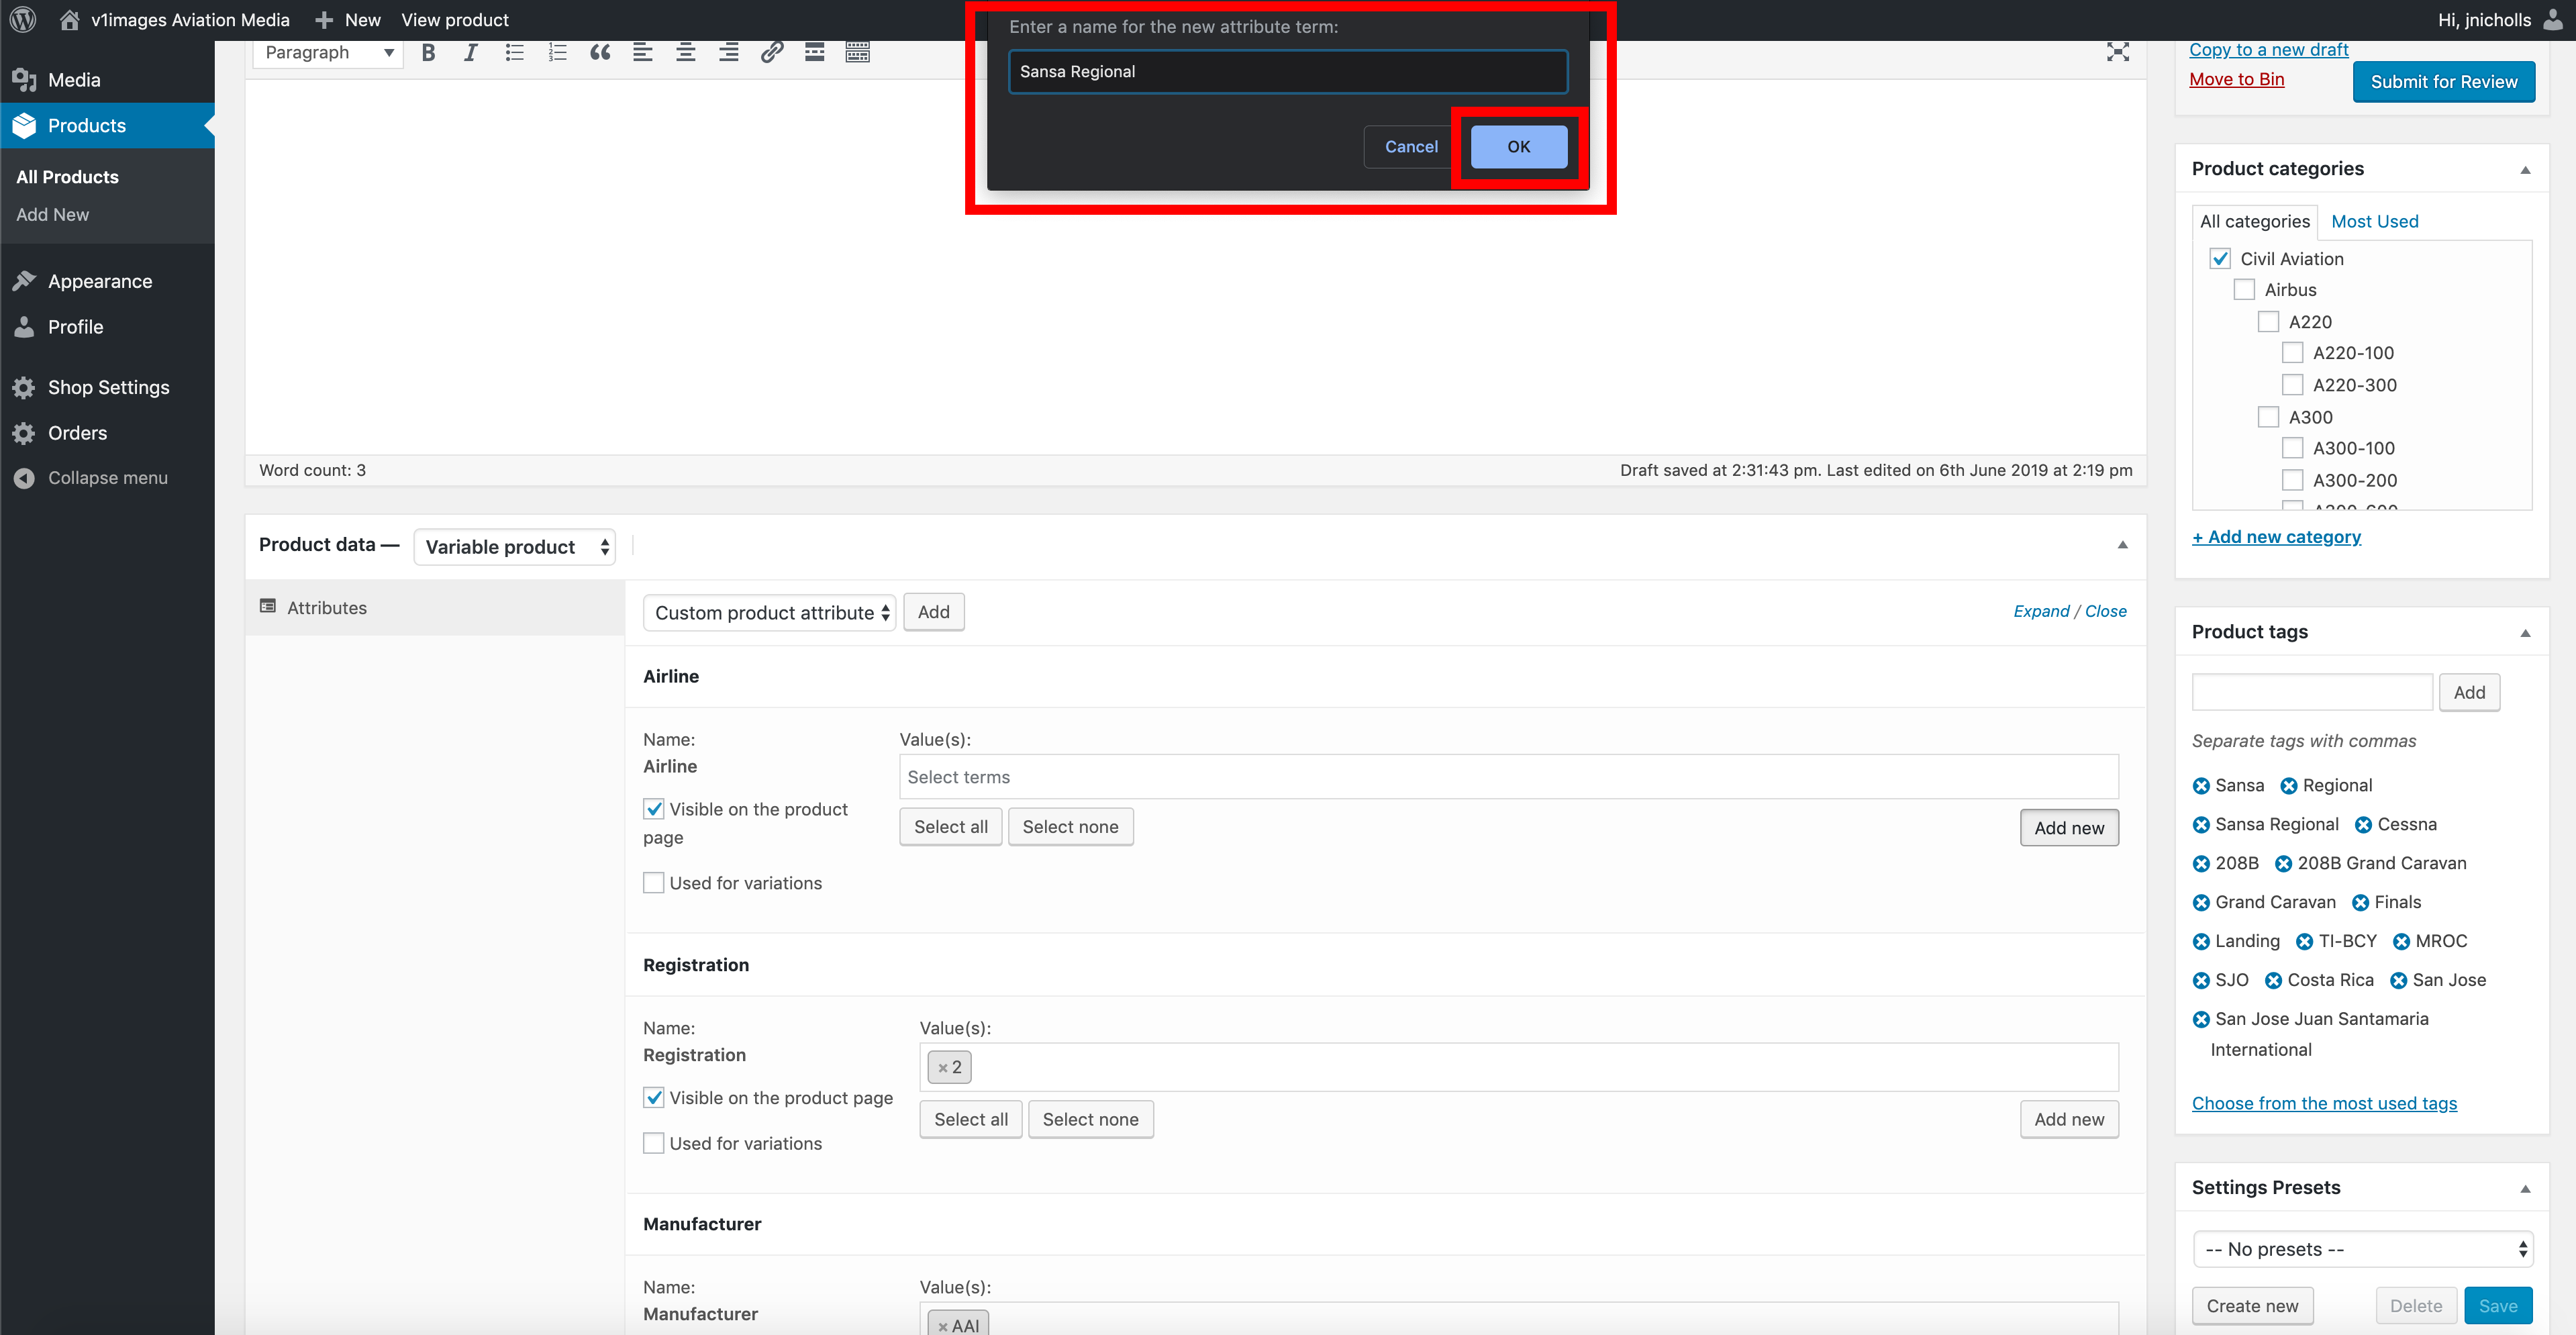
If data you are trying to enter is not already in our database you can click the small button below the data entry line to the right that says ‘add new’.
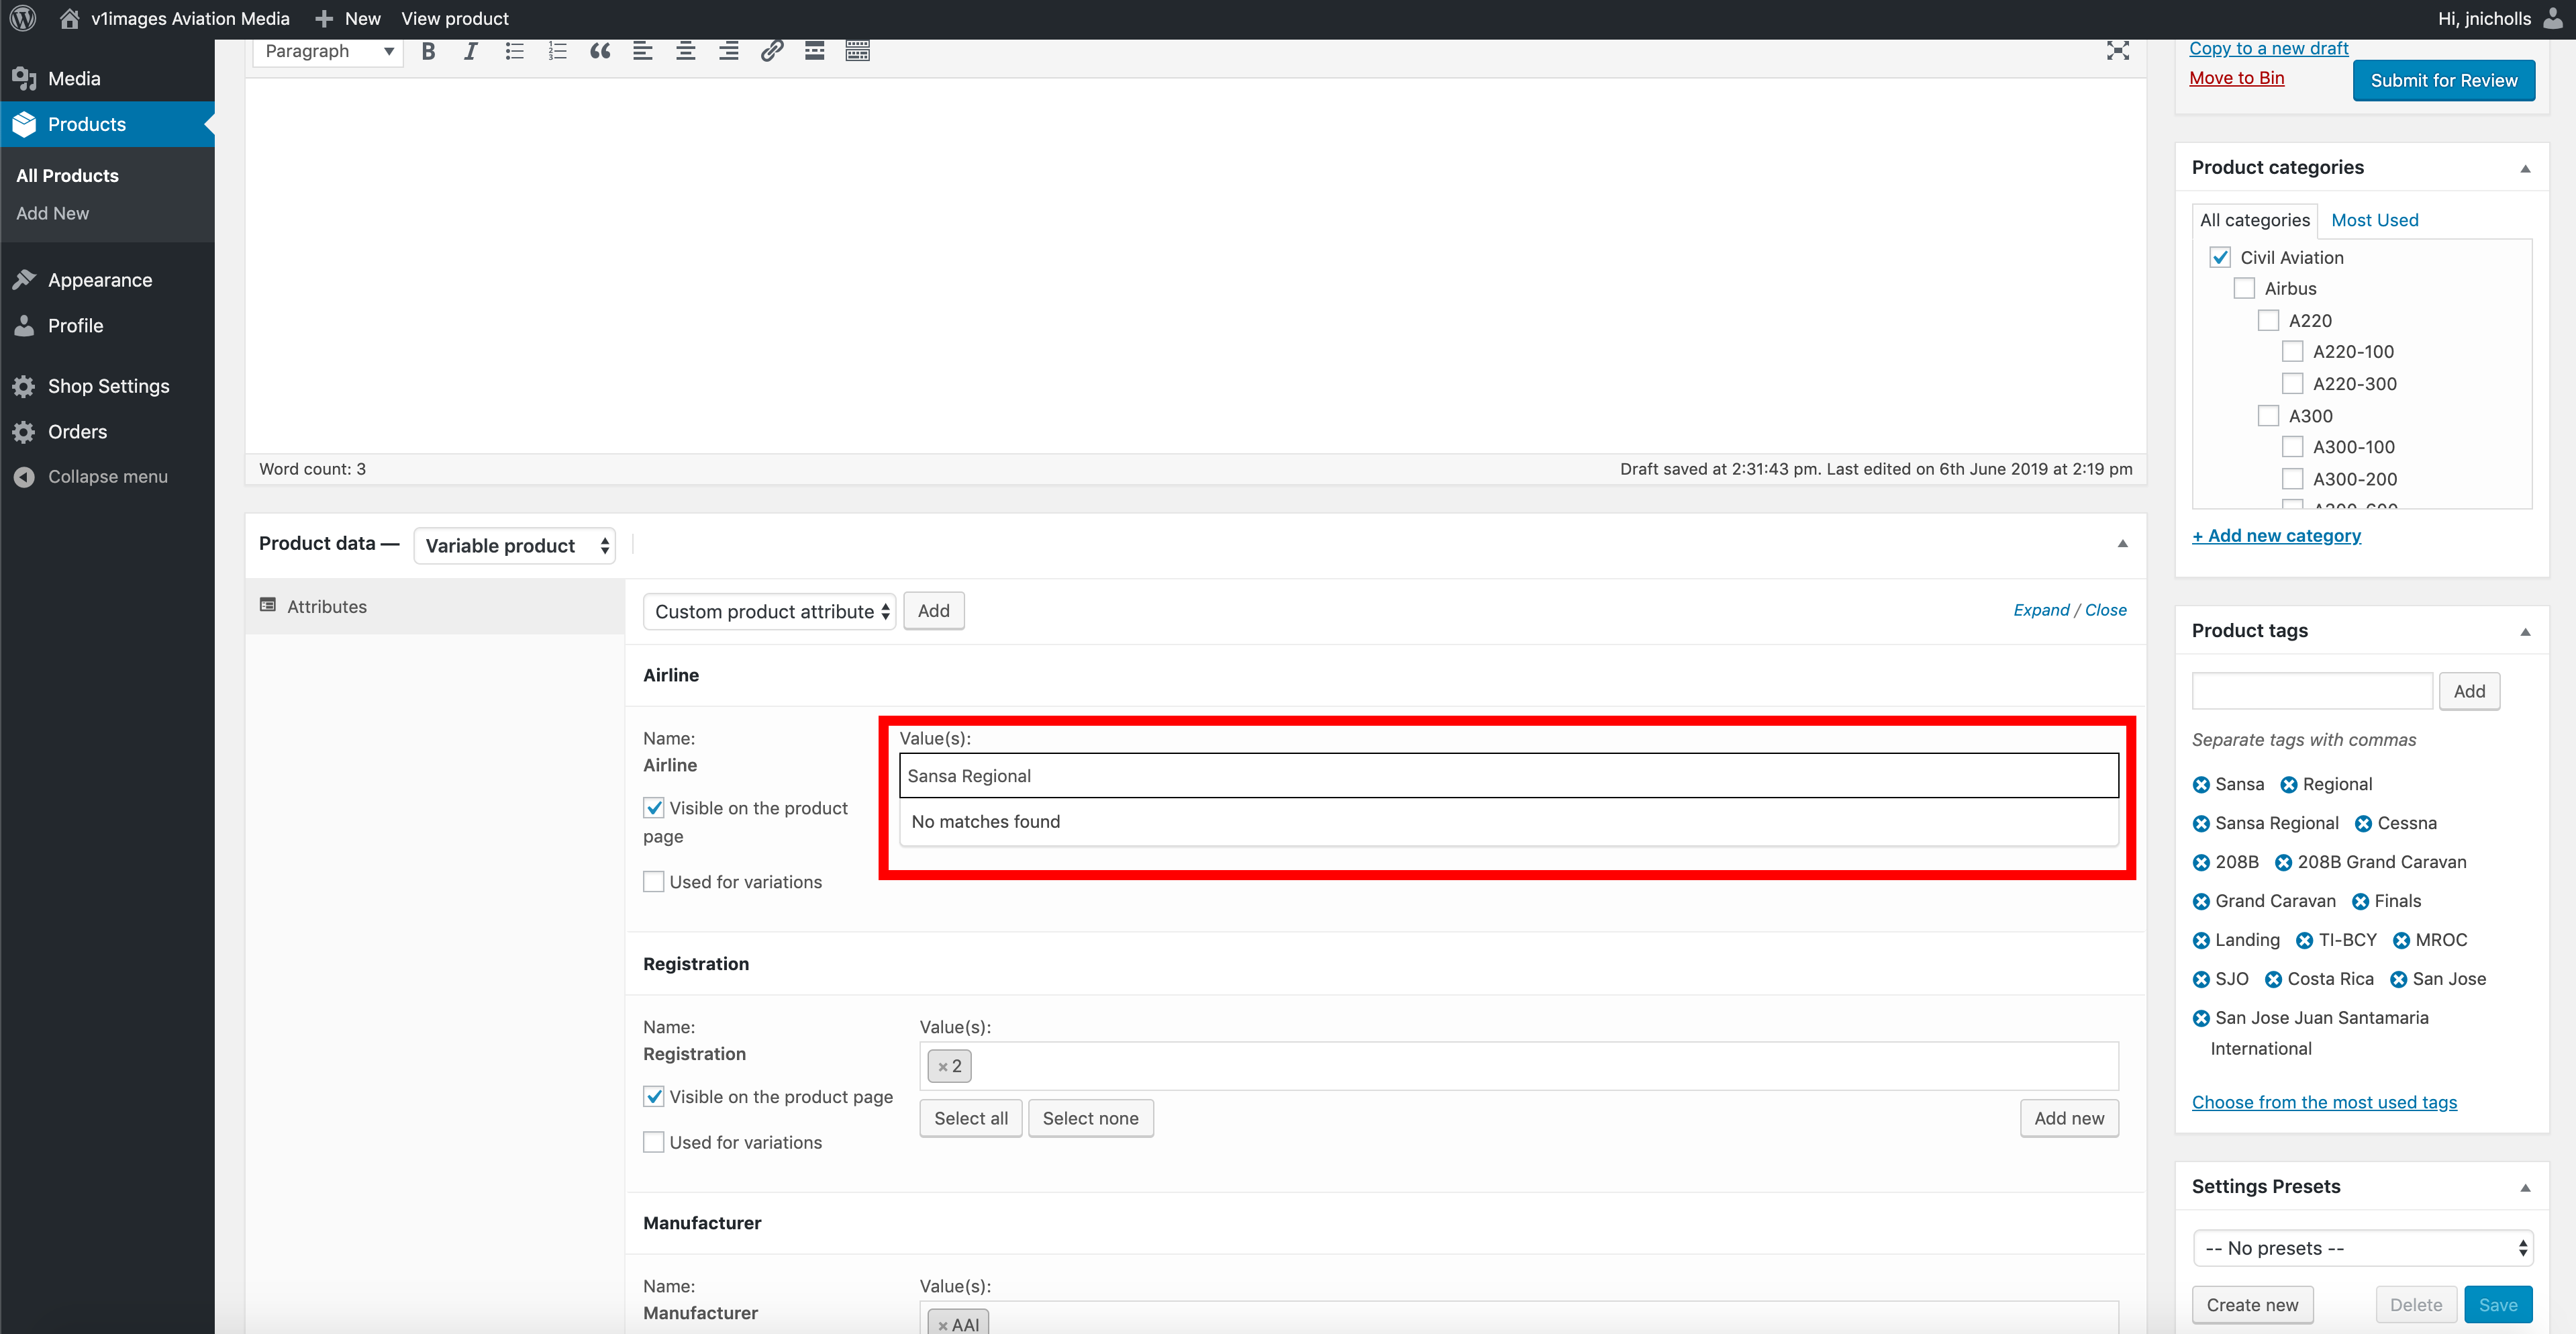
From here you can now type the data you wish to add to the database and then click on ok to enter this data into your upload and the database.
In future, this entry will be available in the database data dropdown menus.
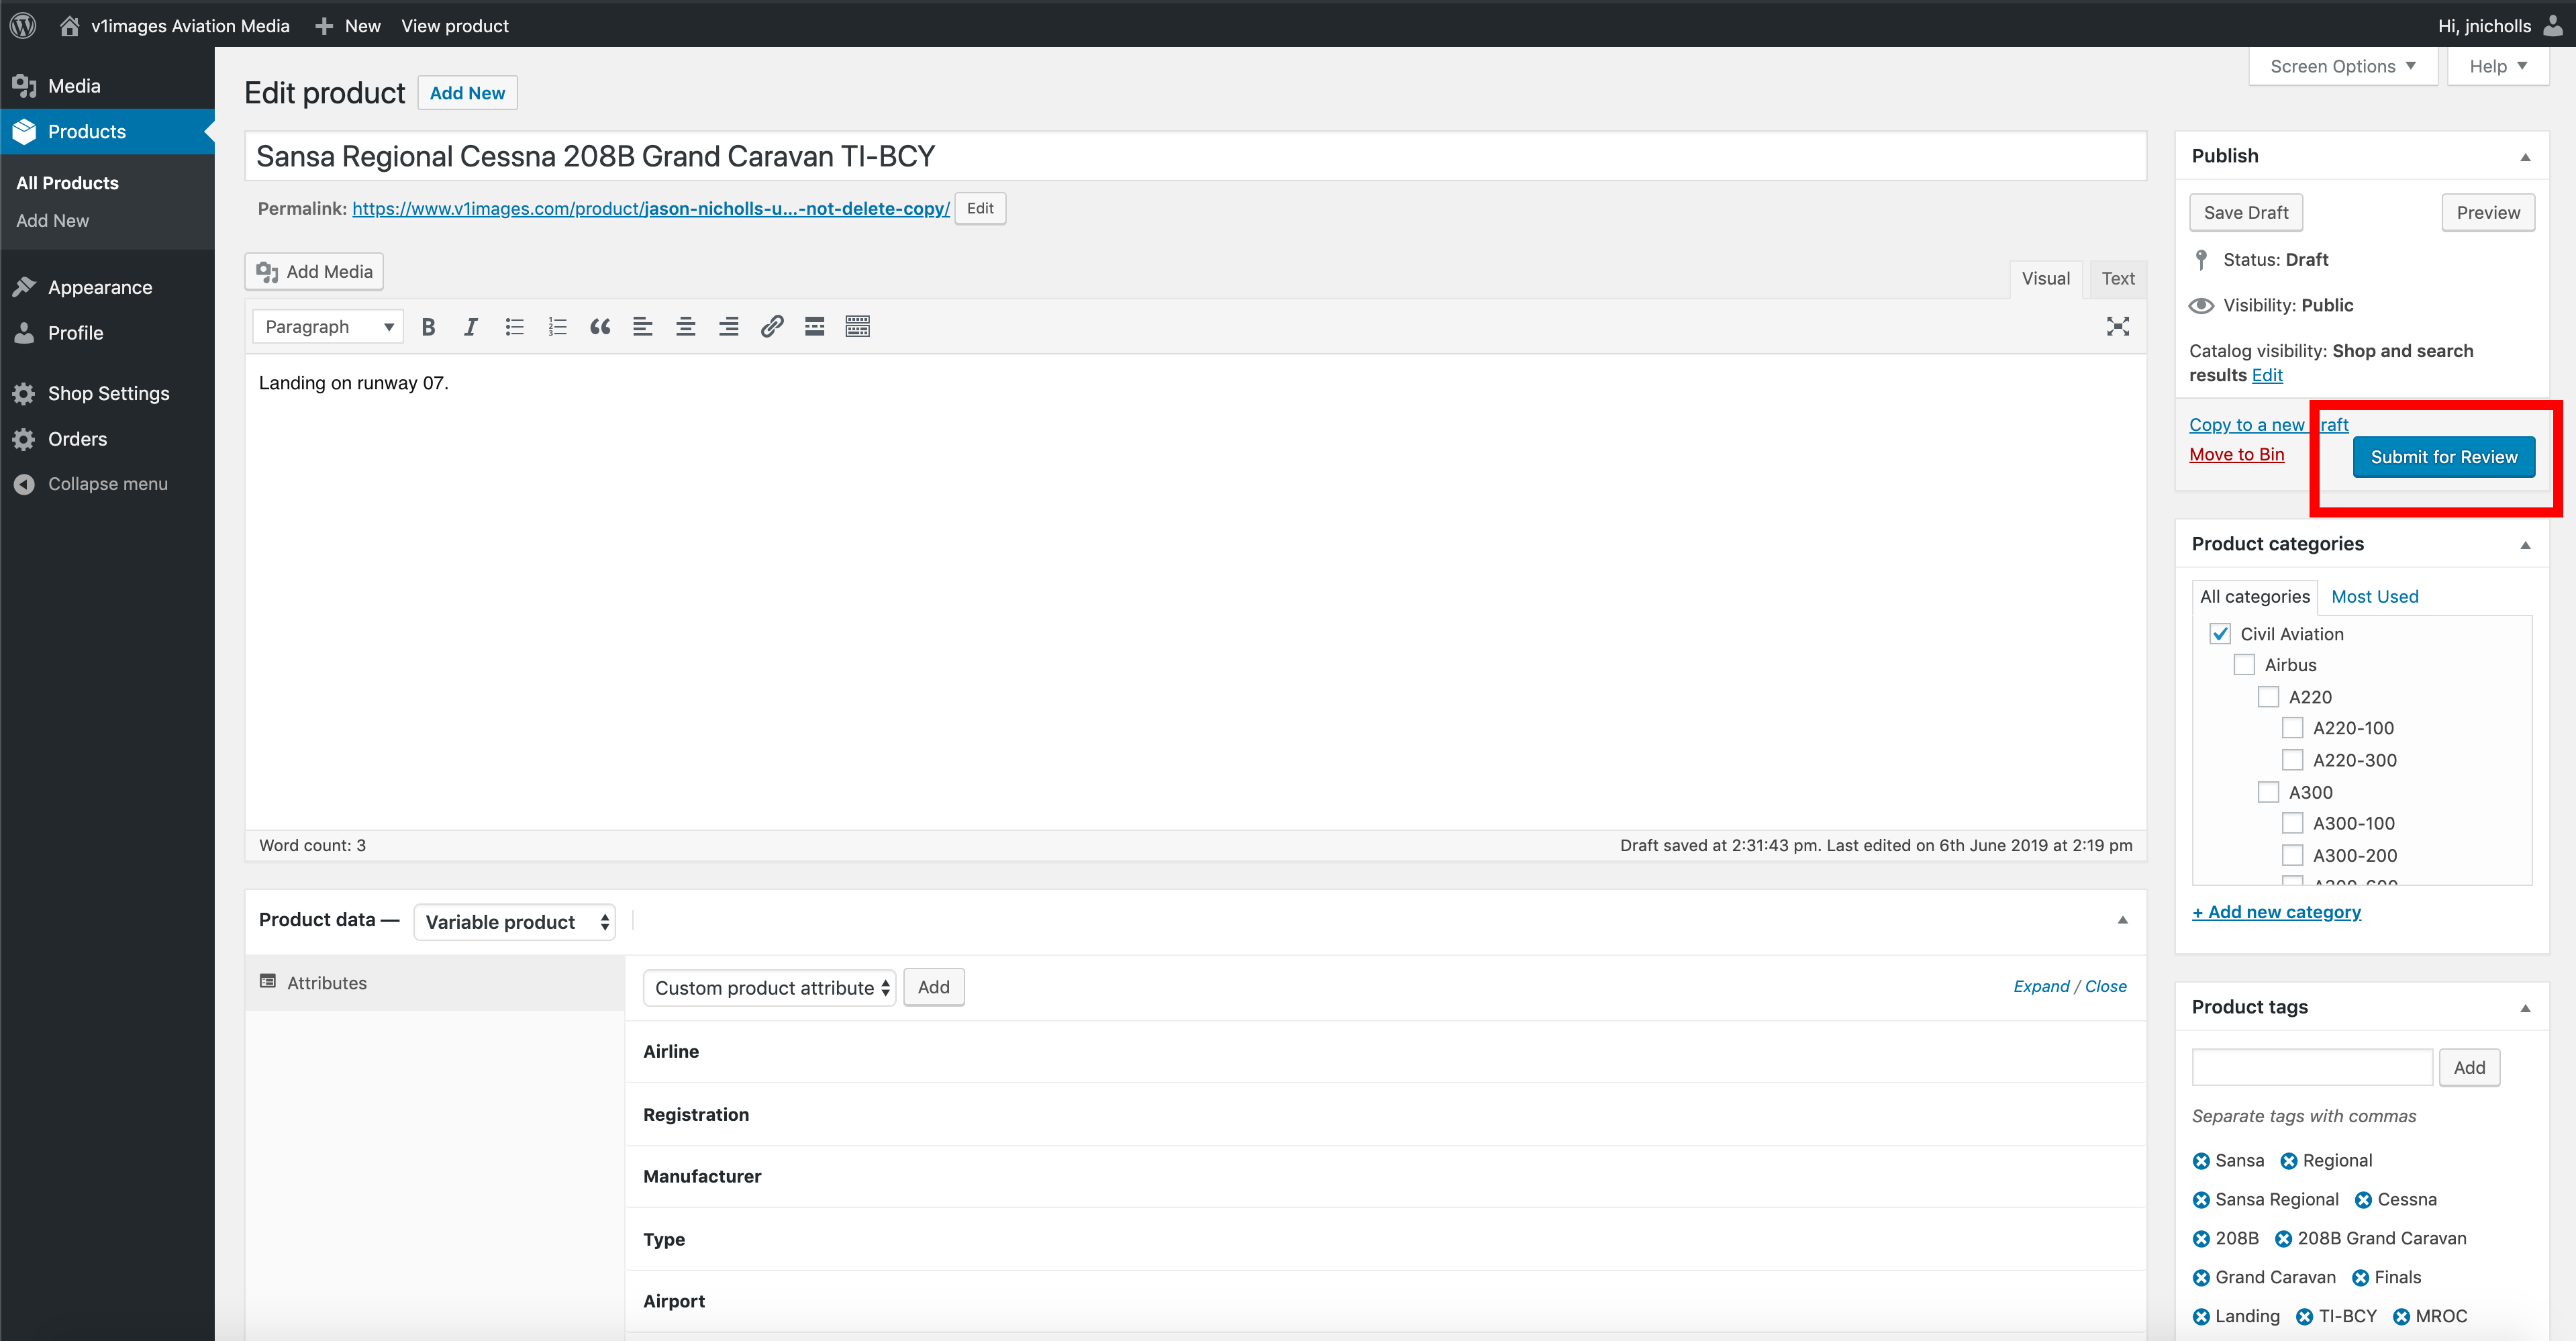
Now do your final checks that everything has been completed and all data added. Once you are sure you are happy to submit your image click the blue ‘Submit for review’ button.
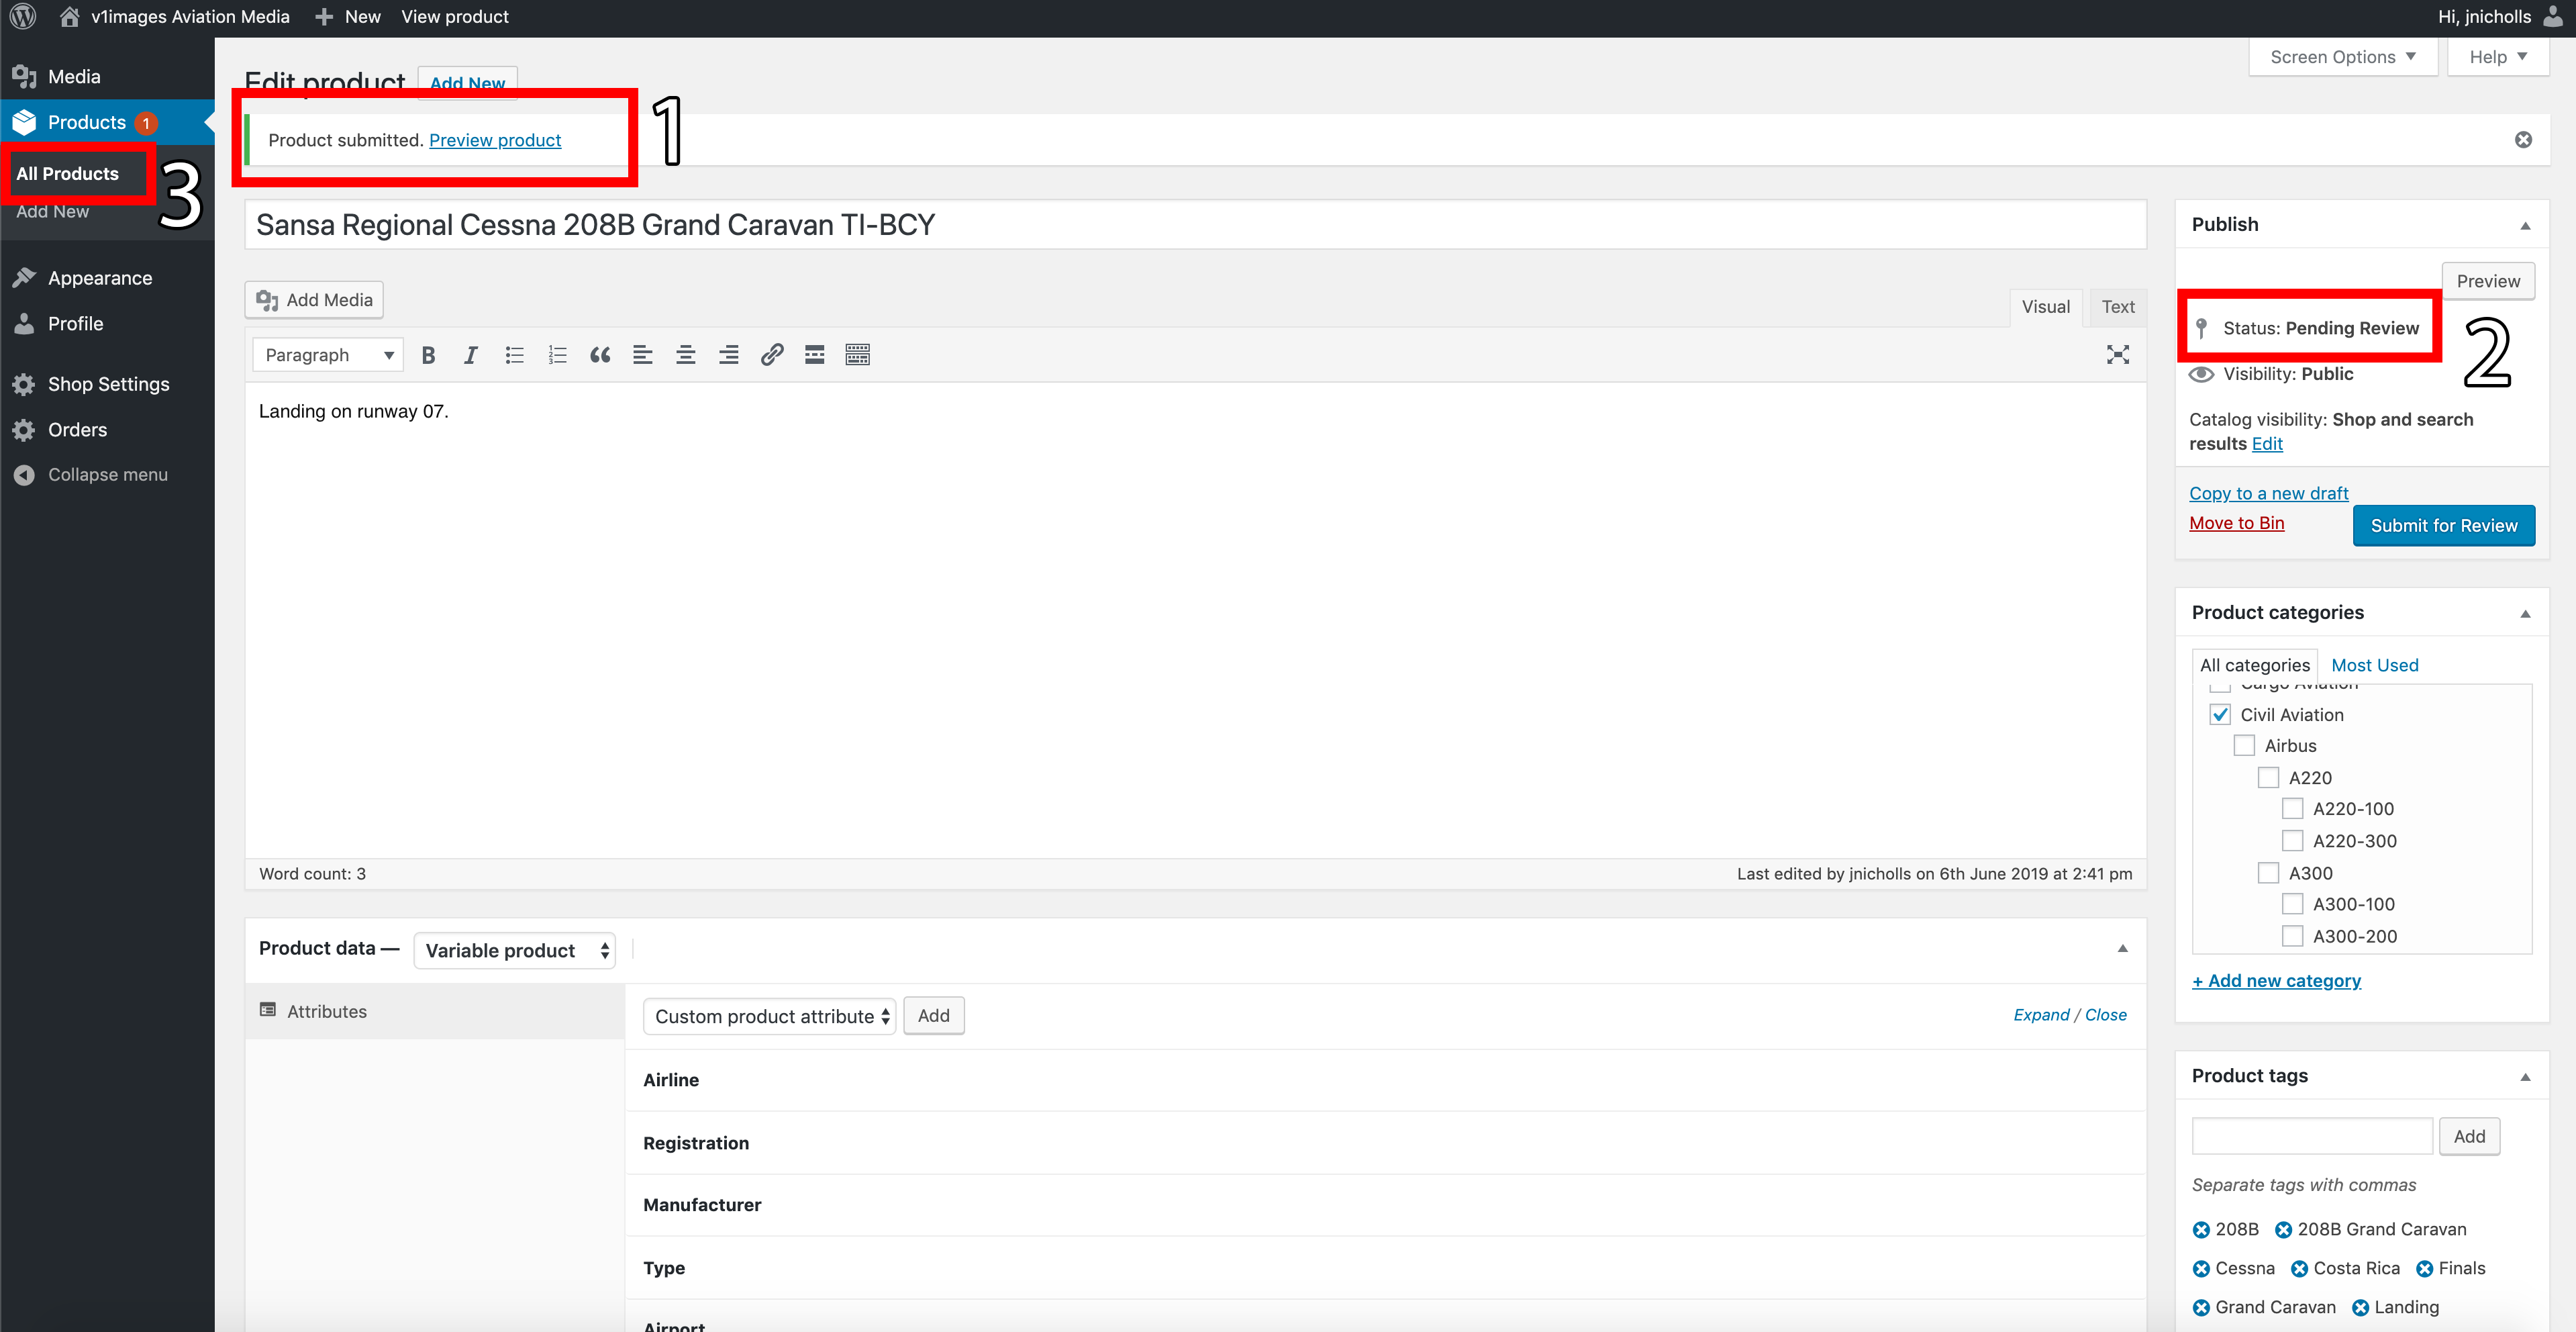
After submission, you should wait to ensure you see any of the following highlighted in the red boxes in Point 1 and Point 2.
To get back to the main upload page, and list of all your submitted/accepted images click on the ‘All Products’ button (Point 3).
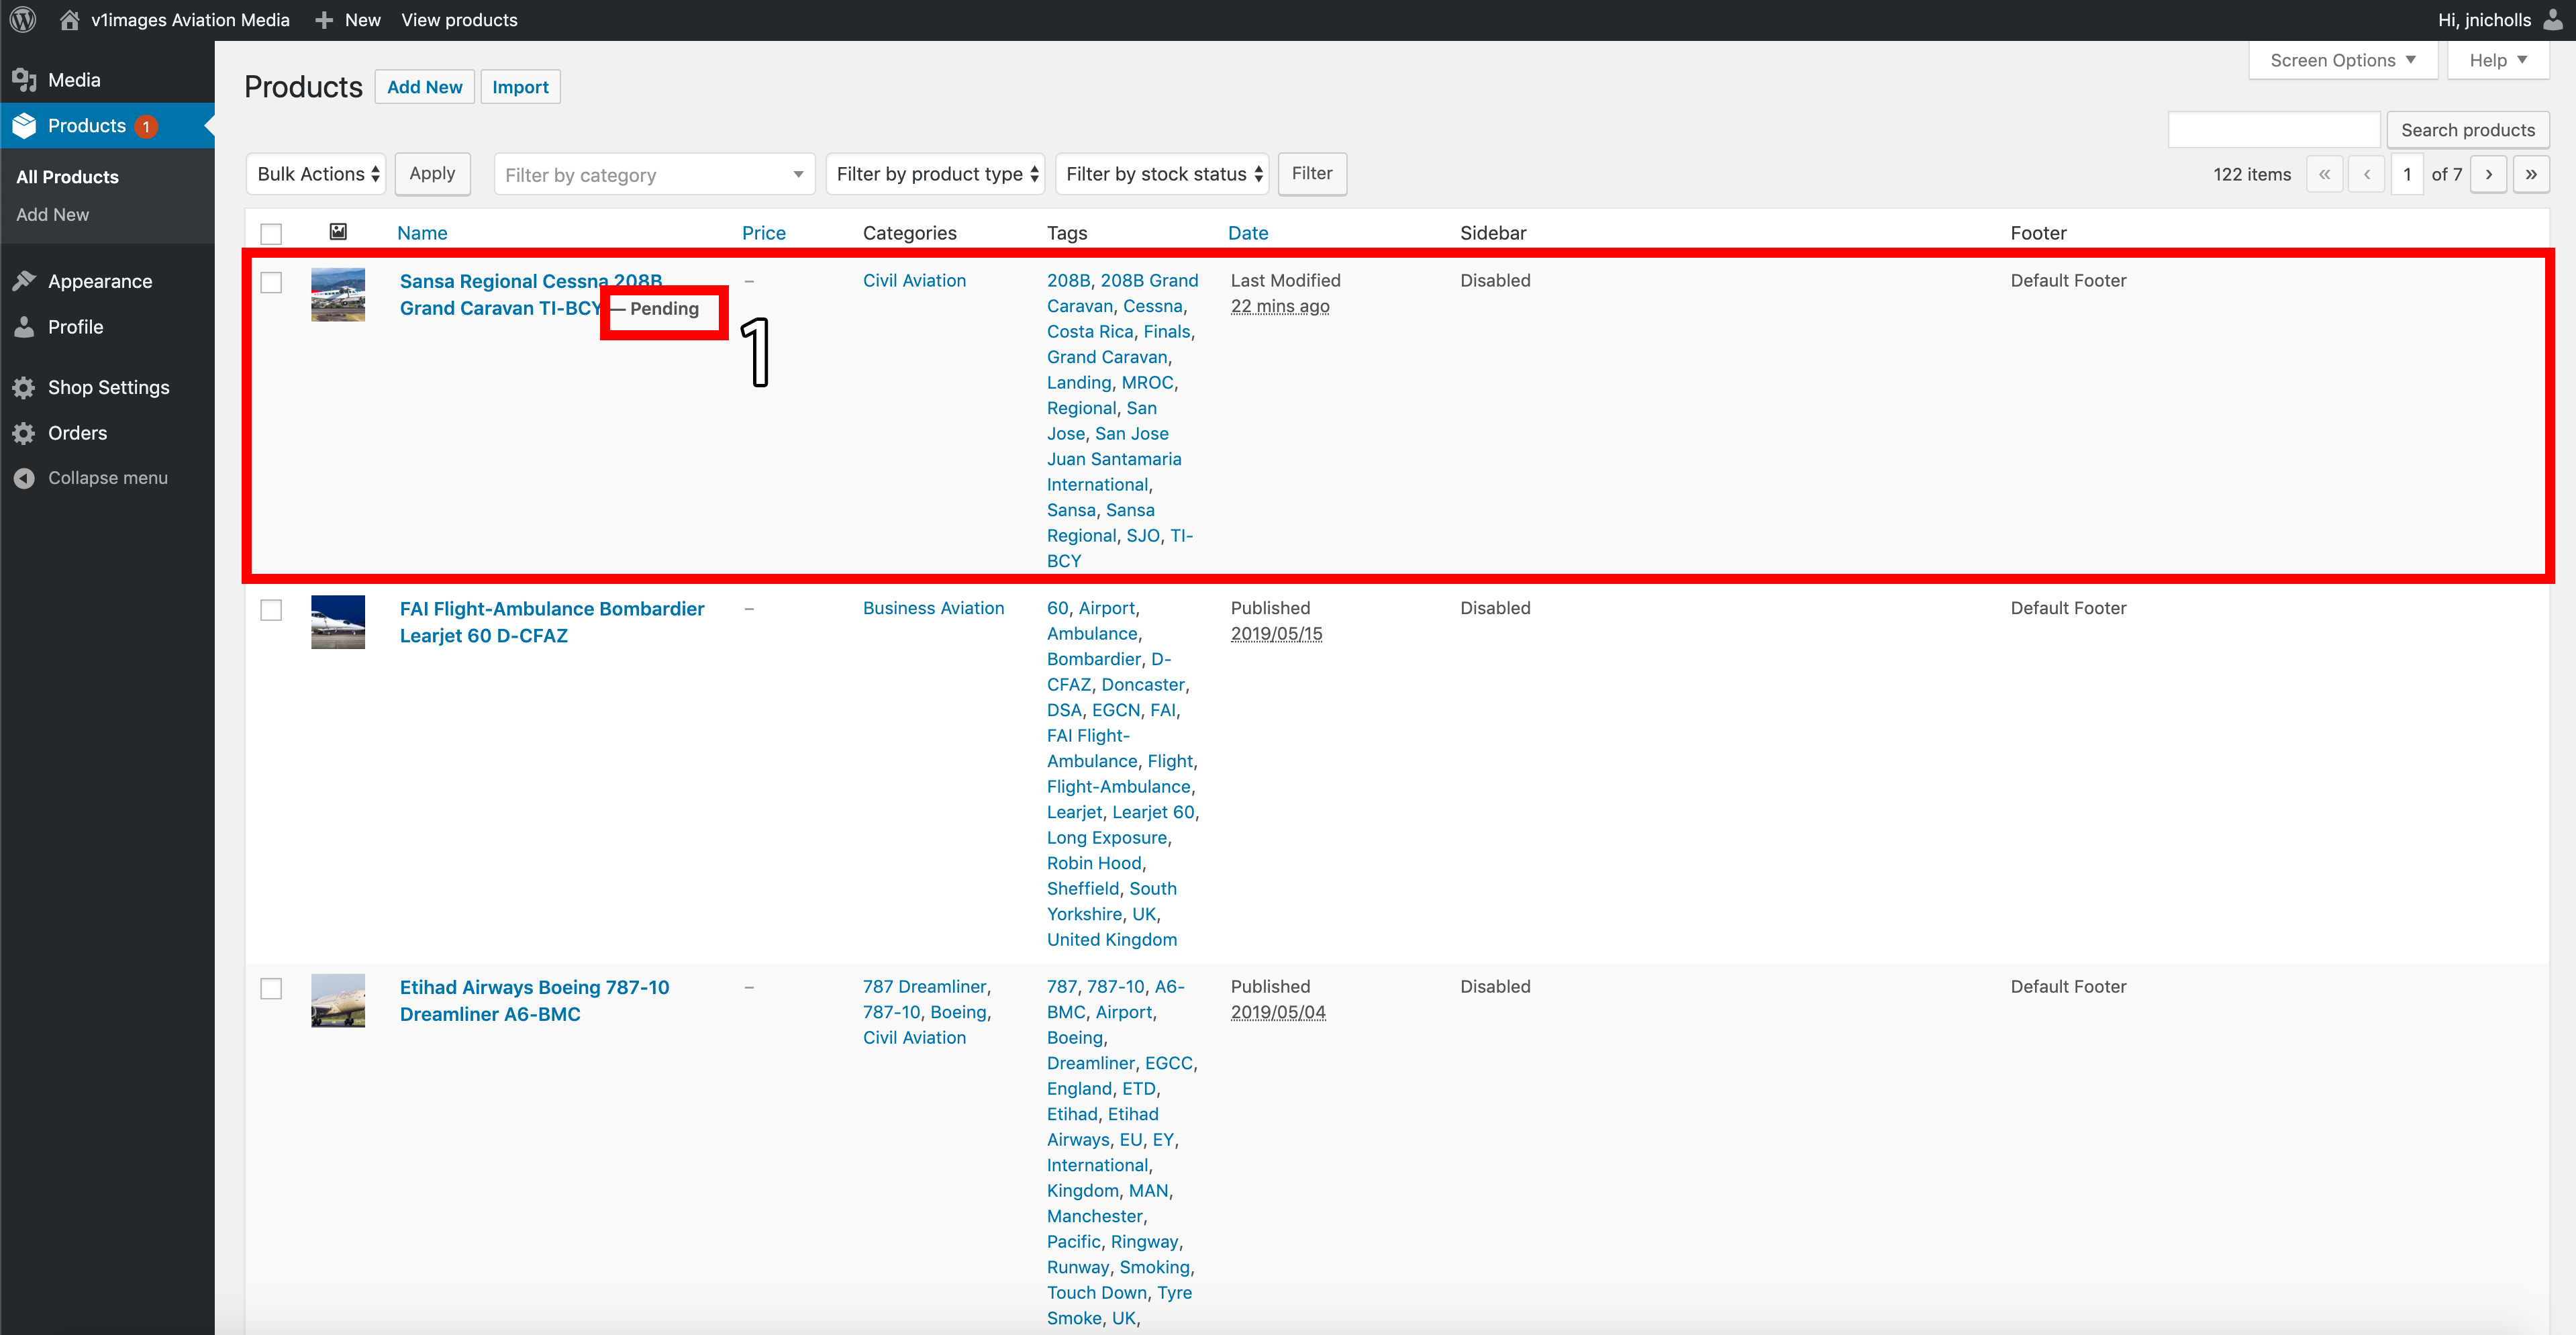
Now you are back to the summary page of all images you have either queued, your template or accepted images. As you can see your uploaded image should show as ‘Pending’ until processed by our admin team.
From here you are free to upload another image from your upload template.
